This article provides a guide on managing and triggering email and app test notifications in the GetCertified application.
Accessing email and application notifications #
Personalizing notifications involves adjusting various settings to ensure that they meet your specific preferences. This can include changing the text of the notification to include the information that you find most relevant or adding desired variables, such as time stamps or the sender’s name. By customizing these settings, you can create a notification system that provides you with the information you need.
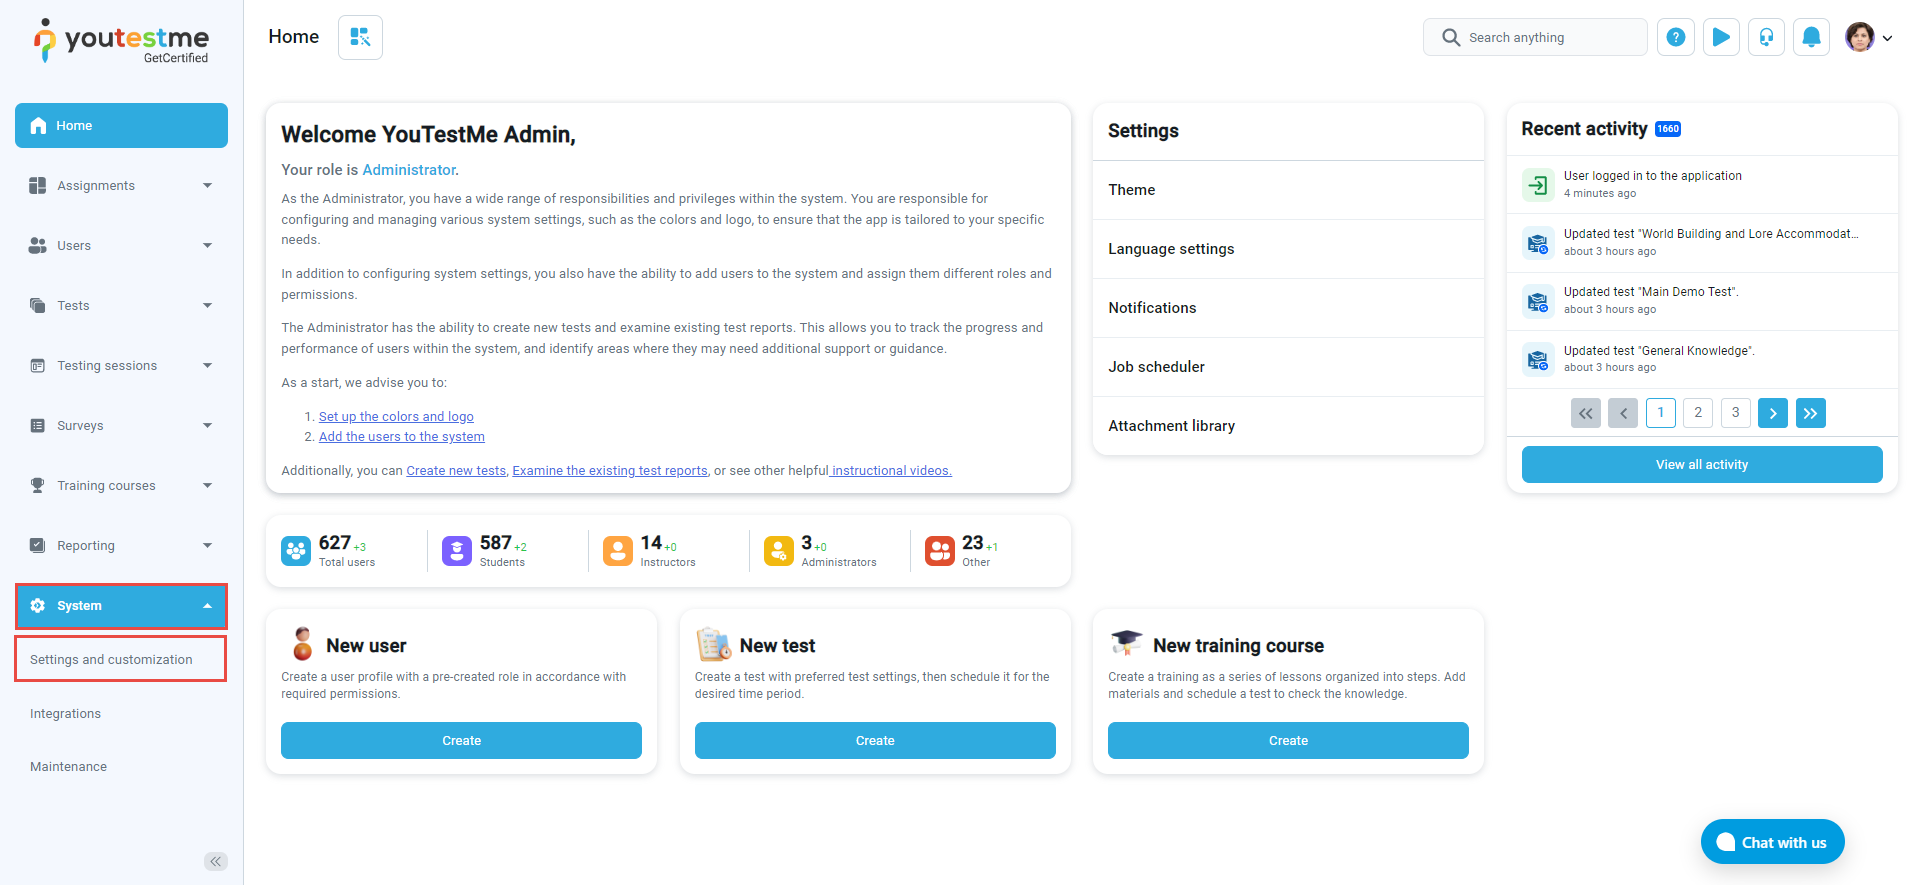
To manage and edit your notifications, select the System tab and select the Settings and customization tab.
In the GetCertified application, you can easily edit your notifications. Simply go to the Notifications tab and select the Edit button for the specific notification you want to customize, whether it’s an email or application notification. From there, you can adjust settings such as text content to create a personalized notification experience.
Search for the Test published notification.

Receiving the notification #
To receive the Test published notification in GetCertified, you need to assign a user to the test. This will ensure that the candidate receives both in-app and email notifications when the test is published.
For more information about assigning users to the testing sessions, please visit this link.
In-app notification:

Email notification:

You might also want to check our video on Automatic Exam Notifications.


