This document aims to explain how to create a simple test with sections and assign candidates.
Creating a test #
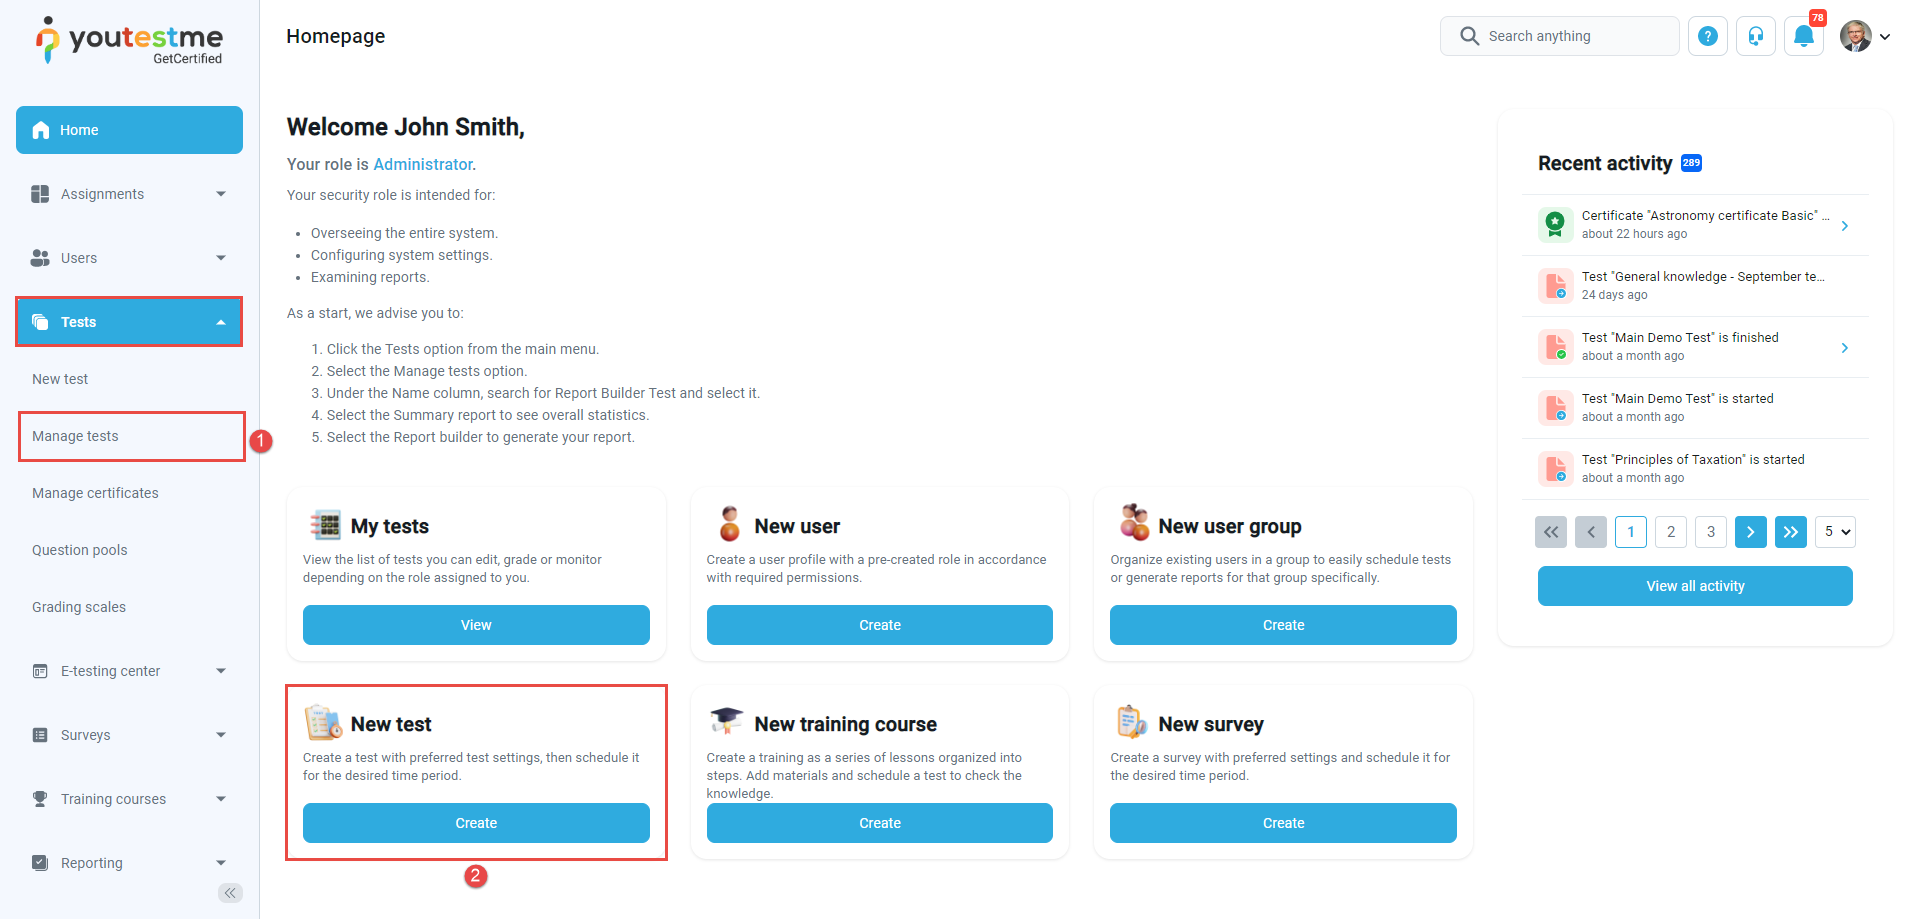
You can access the Create test wizard from the homepage:
- Select the Tests option in the application’s left-side menu and select the New test tab.
- Select the Create test quick action button to create a new test.
In YouTestMe Get Certified, you can create the tests:
- With sections
- Without sections
Sections could represent different areas of knowledge or topics the test covers. If you select the Test with sections checkbox, you will create a test with sections.

Test with sections #
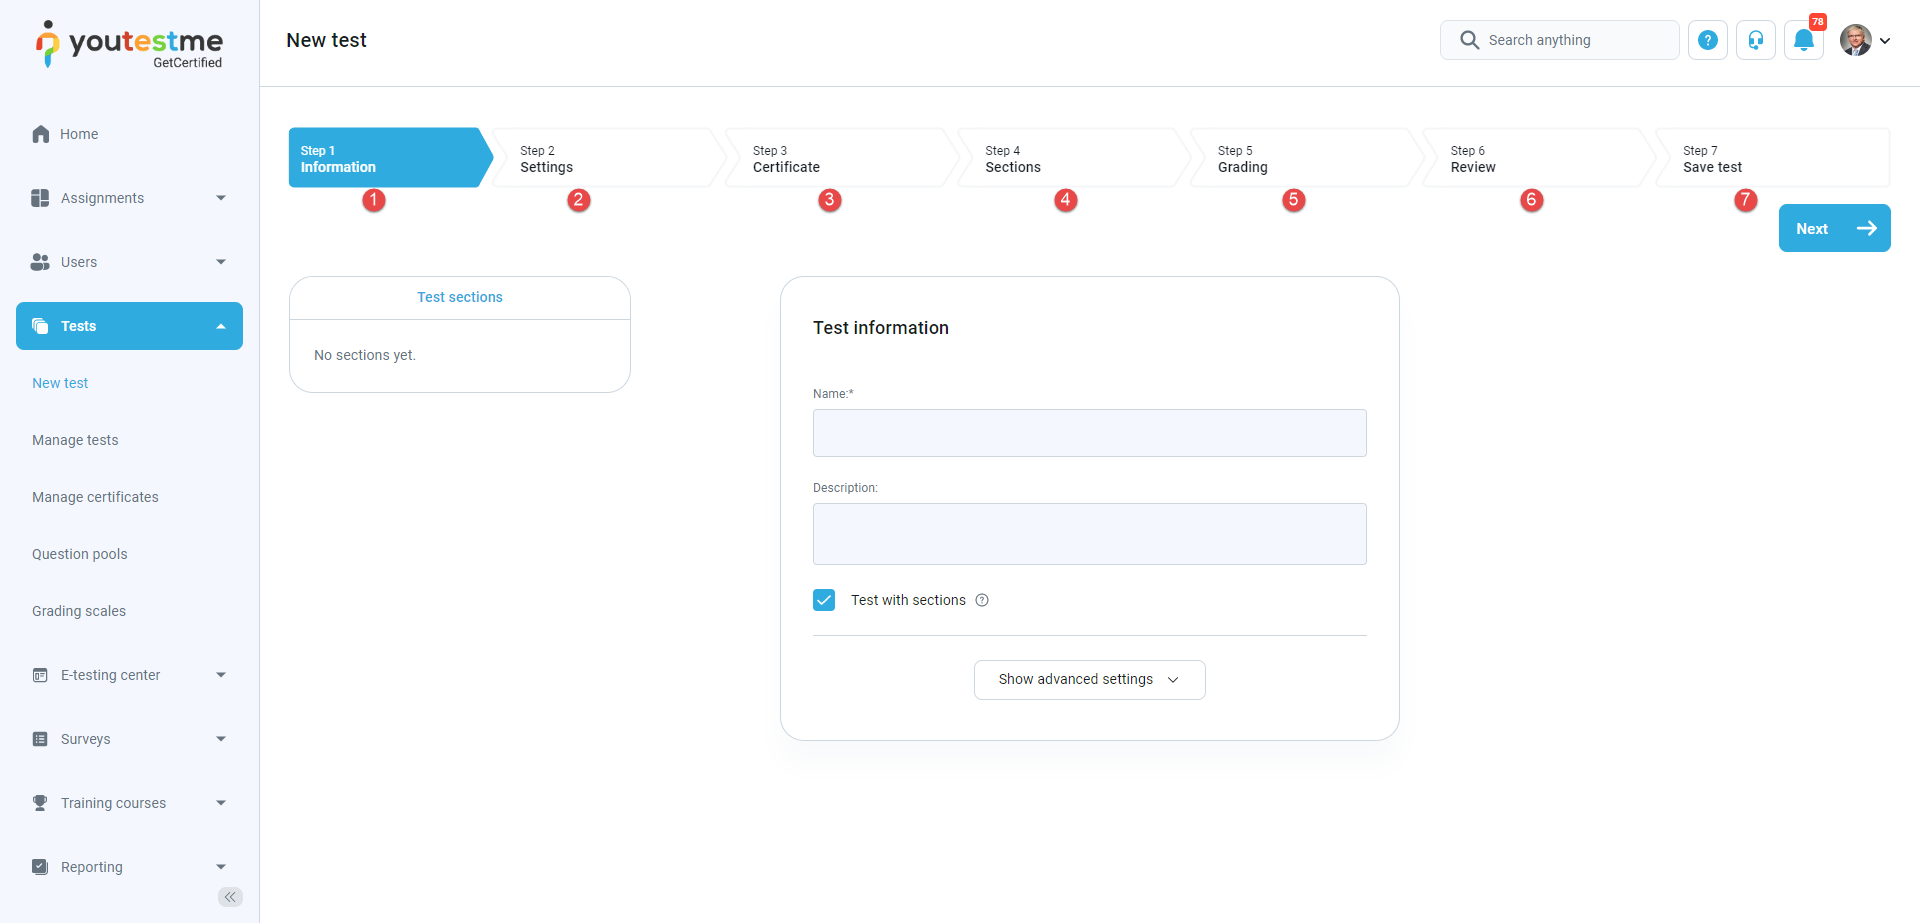
Below you can find the instruction on how to create a test with sections. In this case, “Create Test Wizard” is divided into seven steps.
- Test information.
- Settings.
- Certificate.
- Sections.
- Grading.
- Review.
- Save test.
Next, follow the steps below:
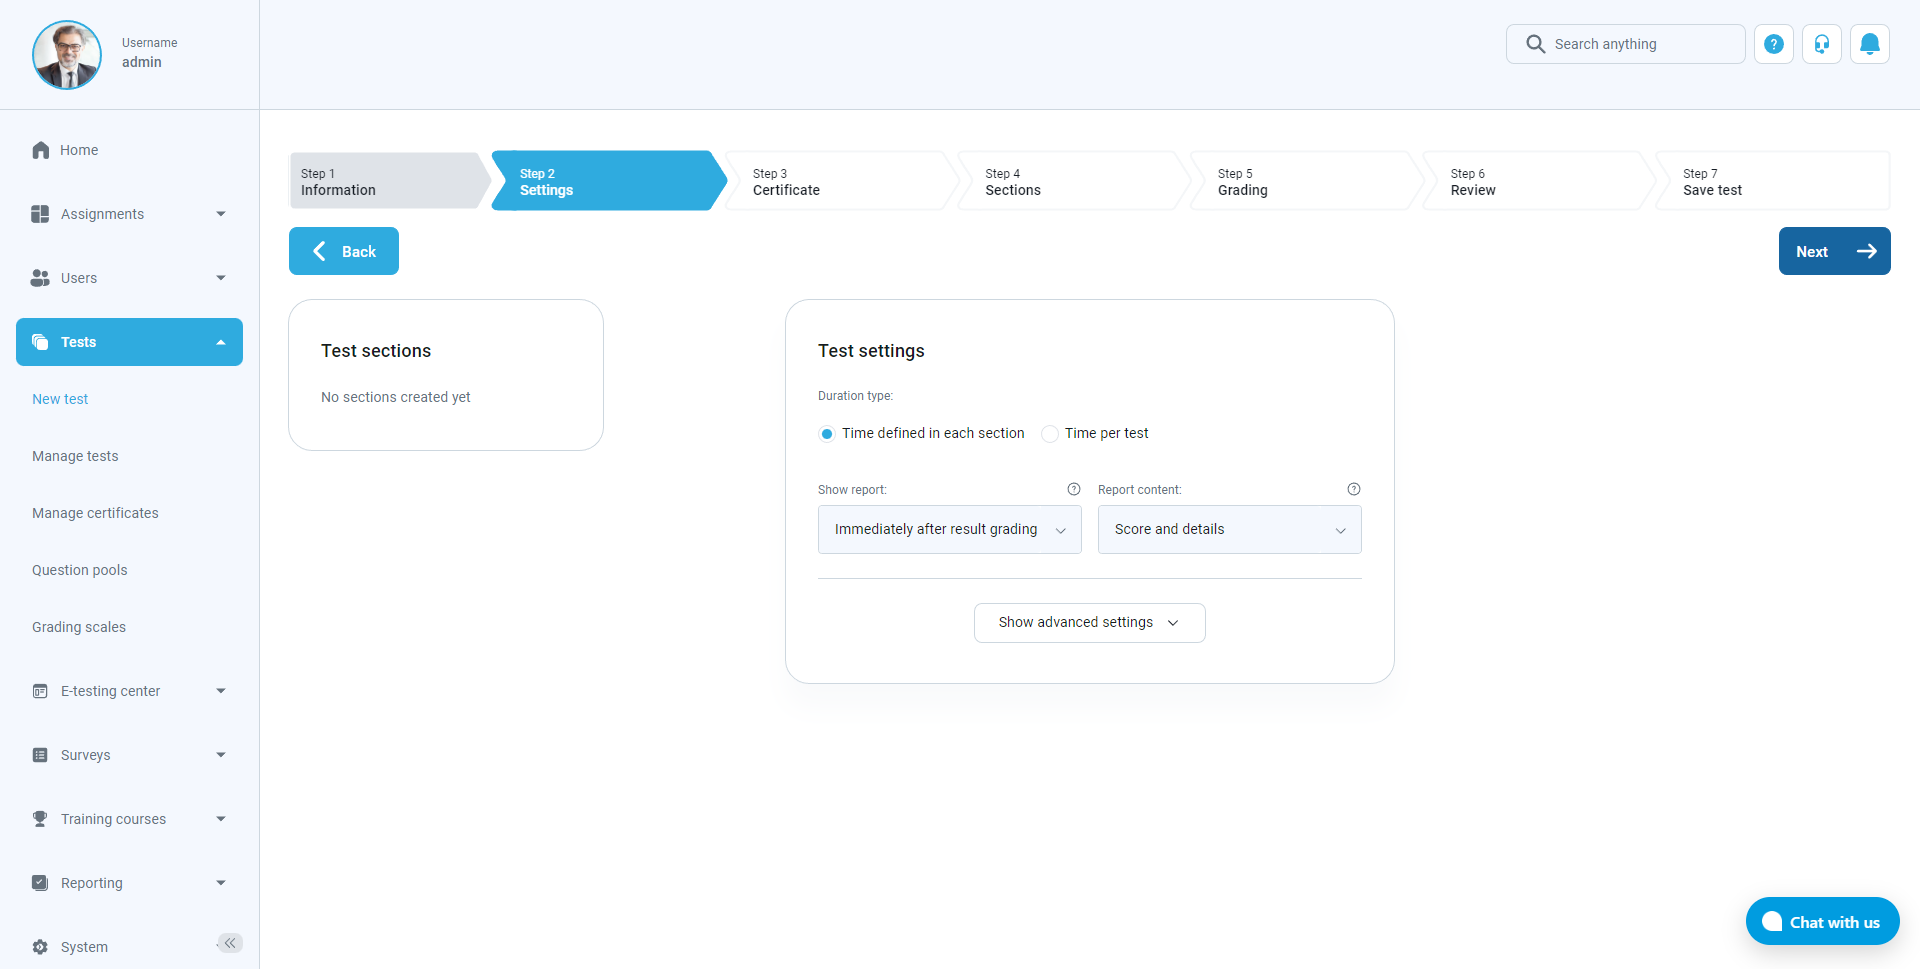
- Step 2 in the Test wizard/Settings: Here, you can choose settings for the test.
- Step 3 in the Test wizard – Certificate: Add a certificate to a test that will be awarded after completing the test (optional).
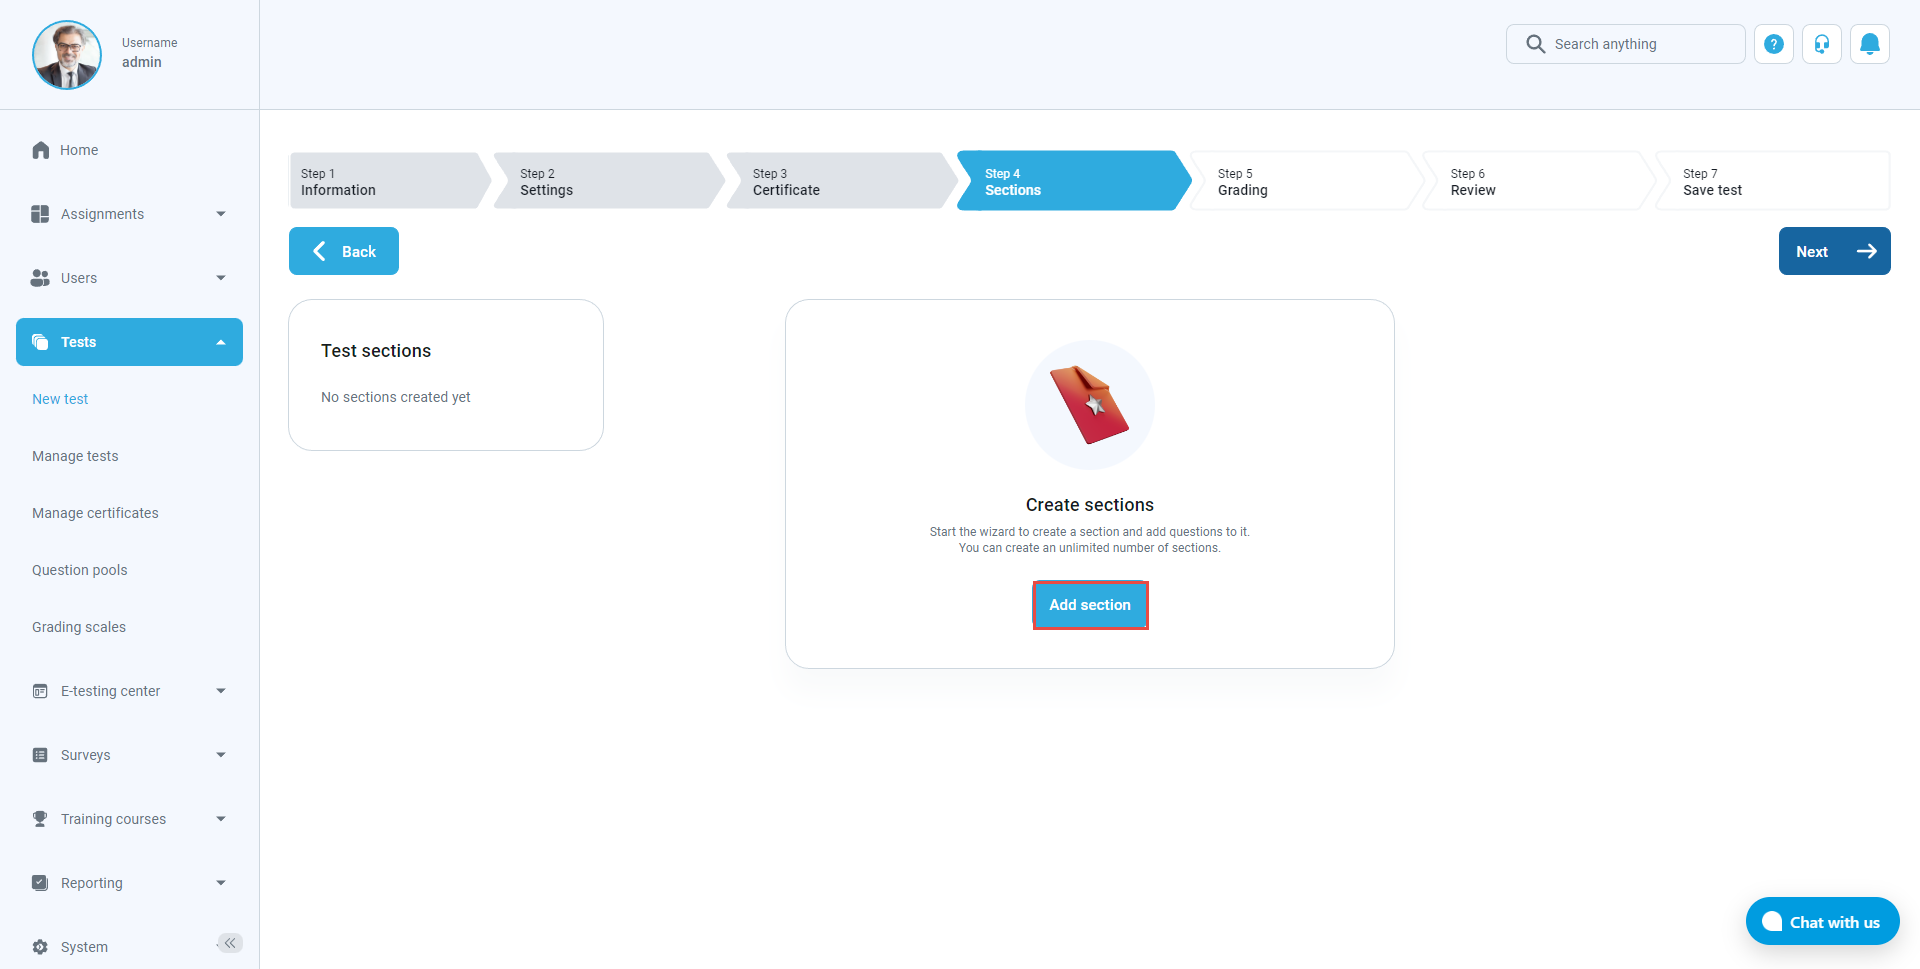
- Step 4 in the Test wizard – Sections: Click the “Add section” button to add the first section (module).
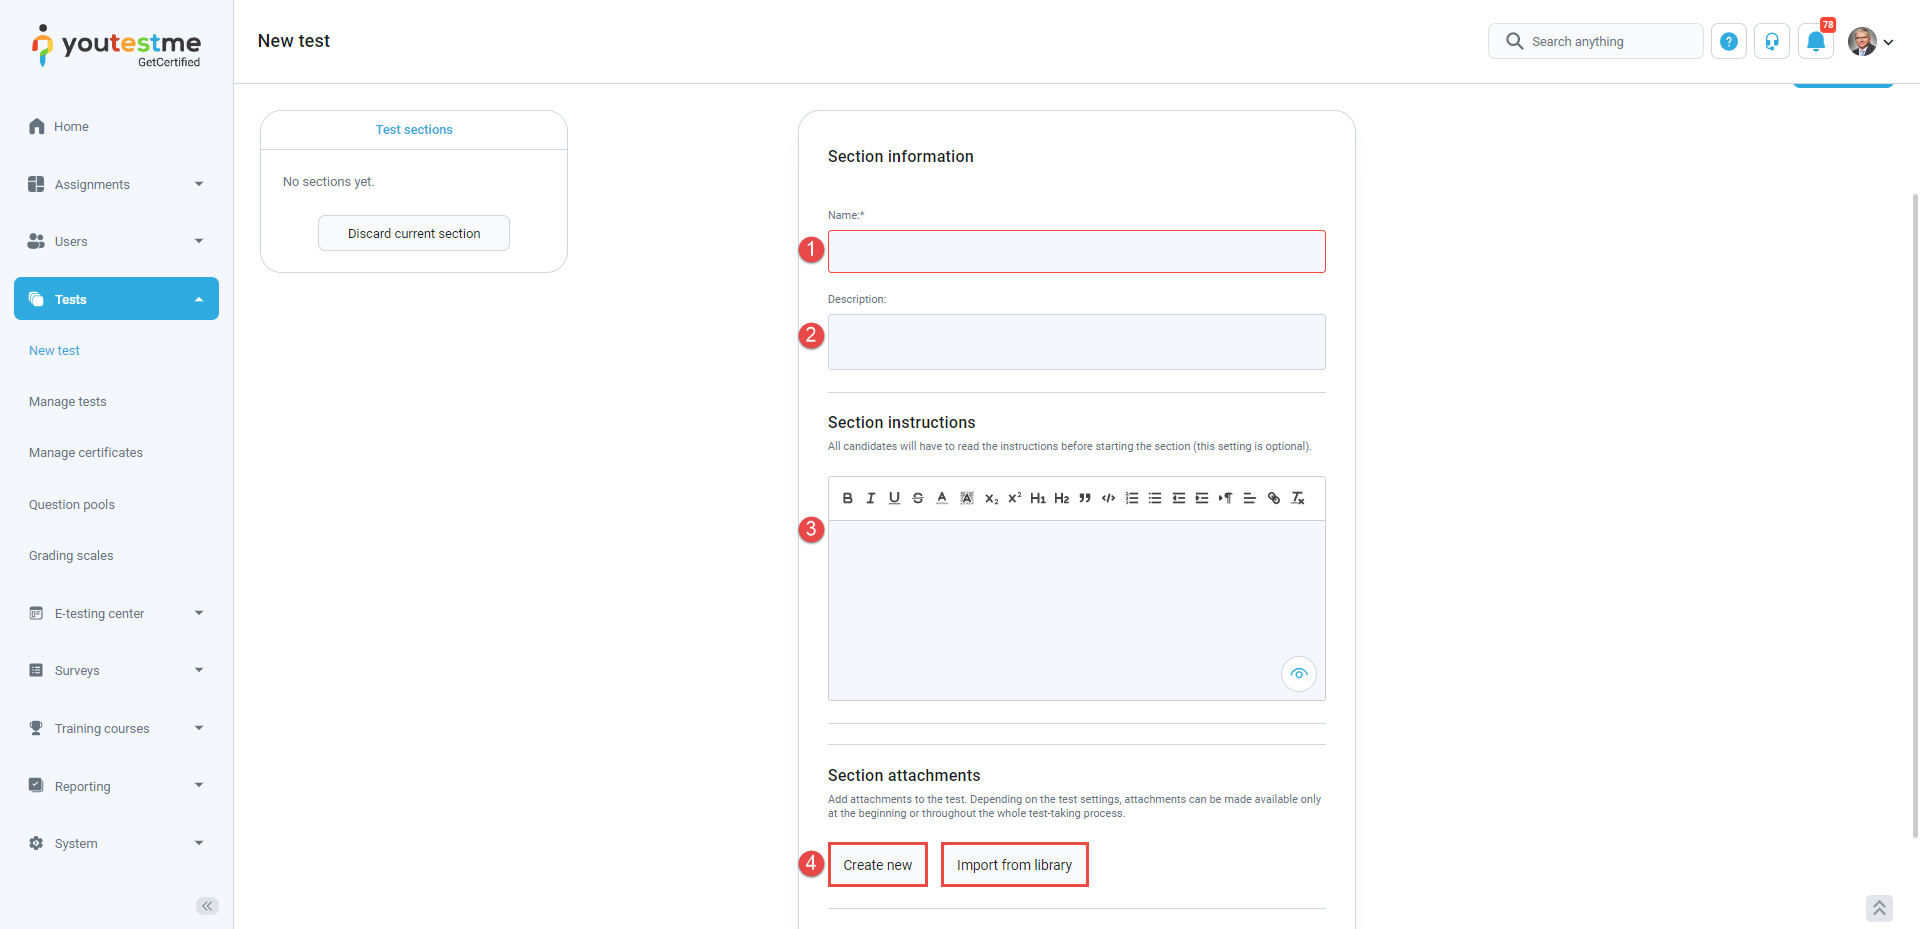
- Step 1 in Section wizard – Section information:
1. Set the name
2. Set the description (optional)
3. Introduction for the section (optional)
4. Add attachments by pressing the button Create new and inserting the attachments from your memory or pressing the button Import from the library and using attachments from the application library.

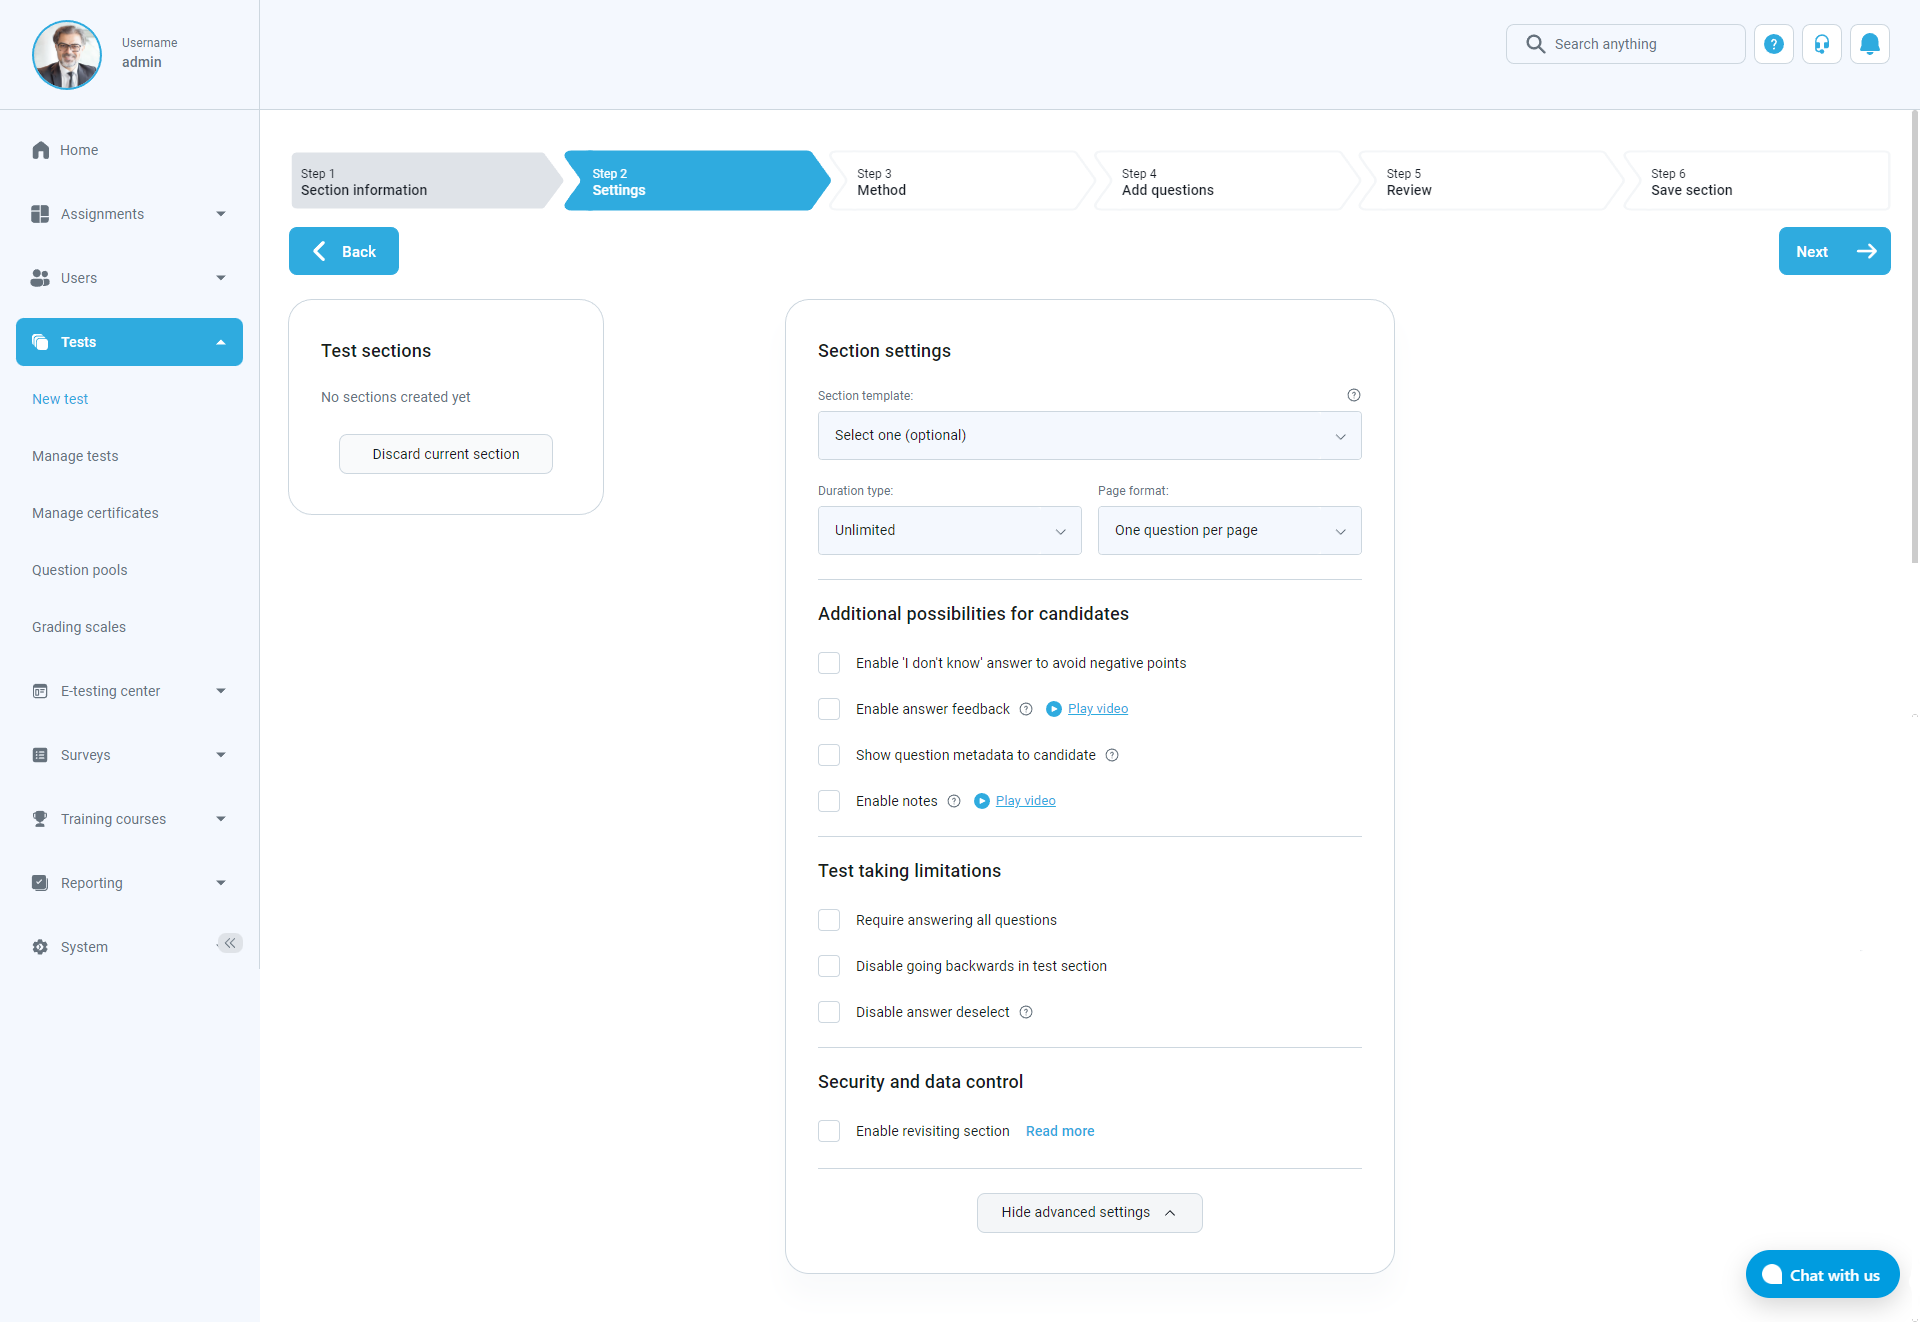
- Step 2 in Section wizard – Settings: Set settings for your section.

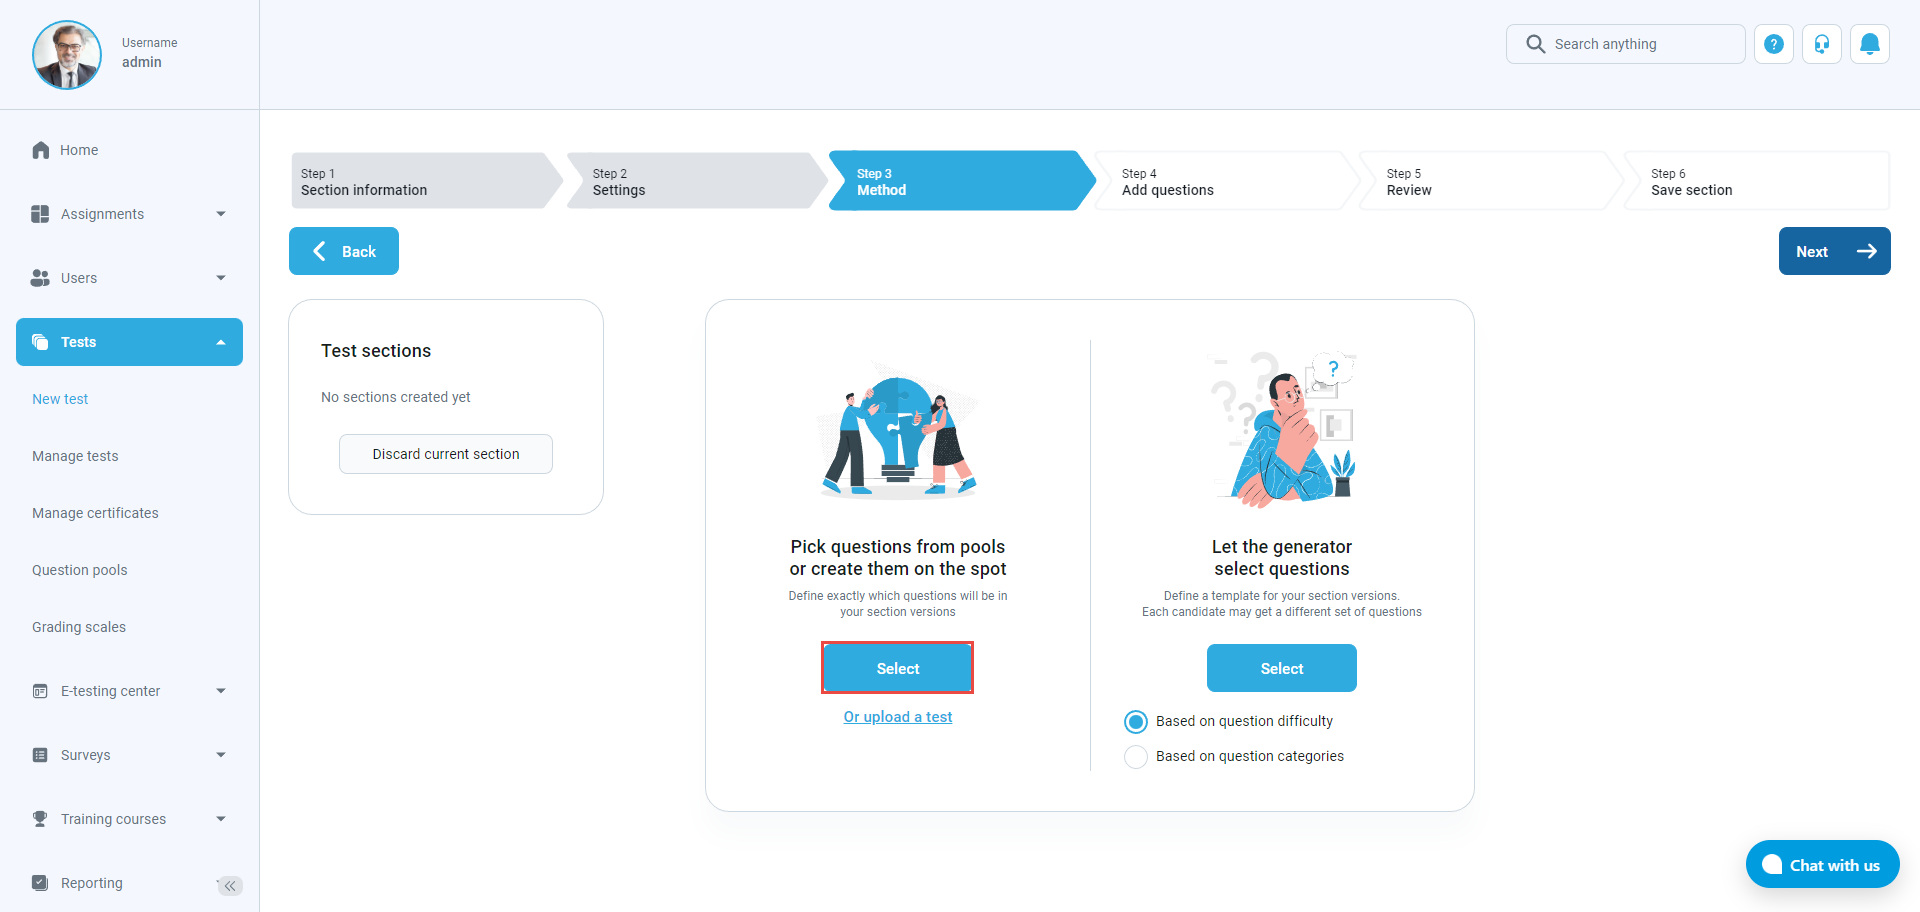
- Step 3 in the Section wizard – Method: You can choose how to add the question to the test. For now, let’s click on the Select button below the Pick questions from pools or create them on the spot to make a new question or to import one from the question pool.
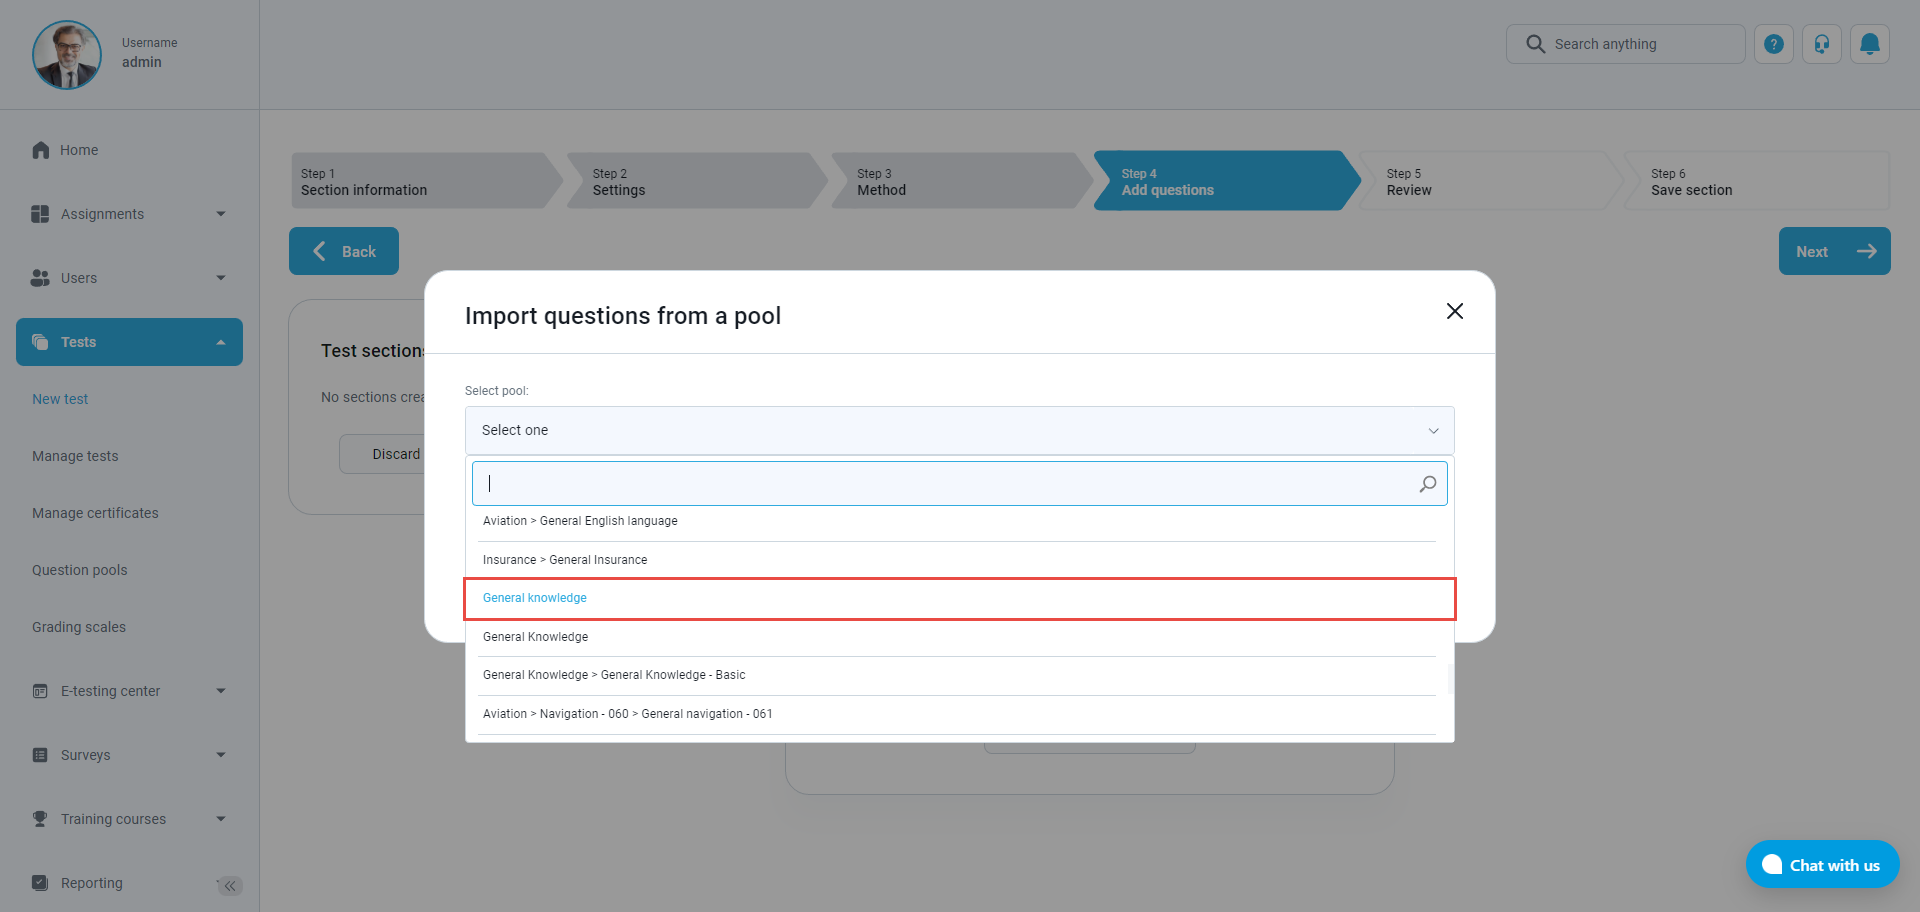
- Step 4 in the Section Wizard – Add questions: Choose the Import from pools option, to add questions from a specific question pool.

- Select the question pool from the dropdown menu where you want to add questions.

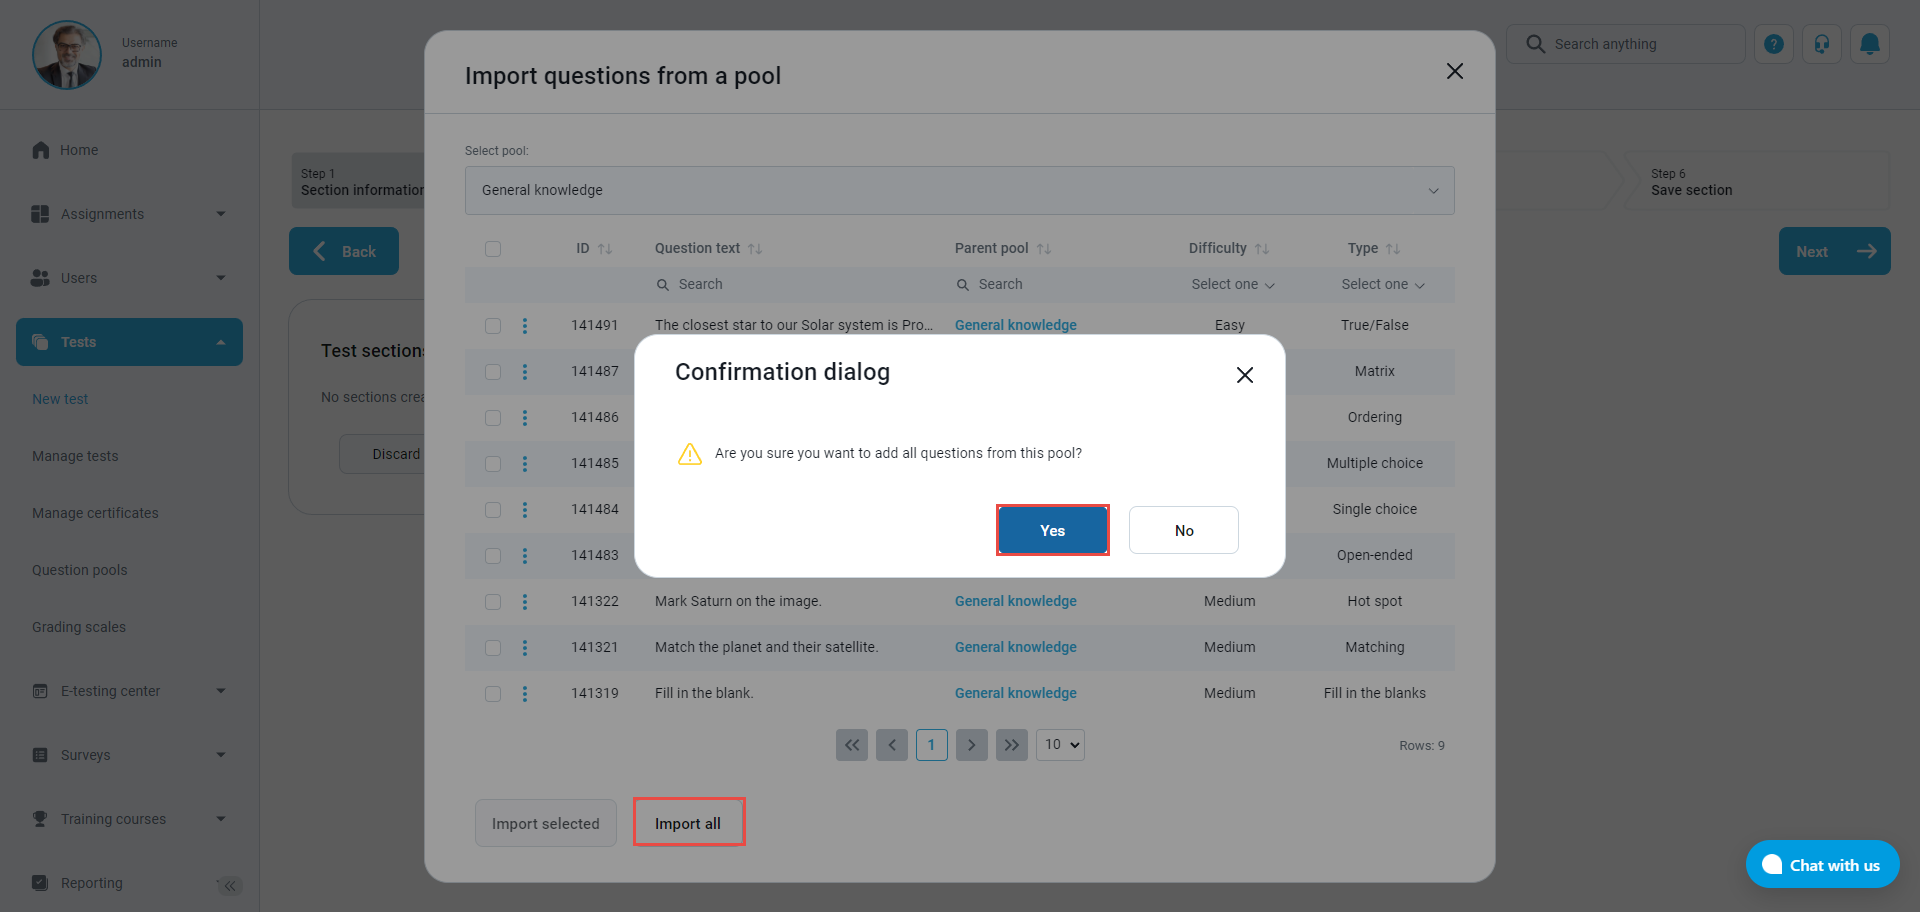
- When you choose a question pool, you can assign all the questions:
1. Press the Import all button.
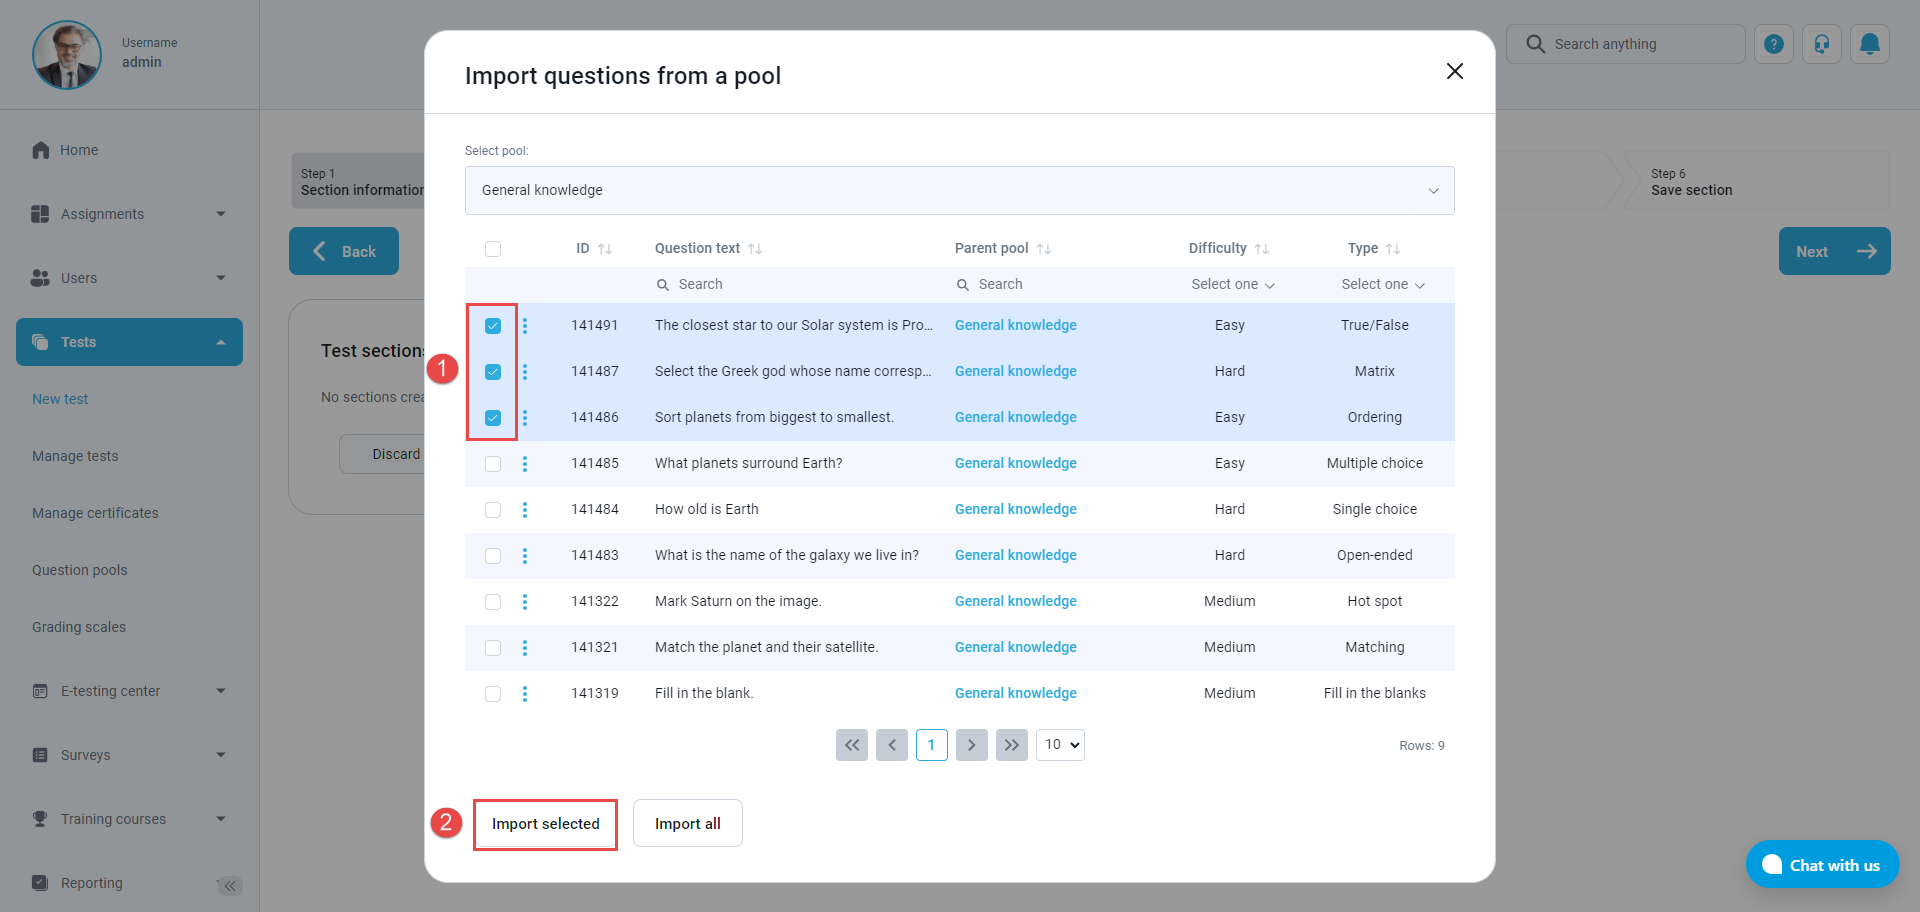
2. Confirm the action in the pop-up dialogue by pressing the Yes button. If you want to assign questions one by one :
1. Mark the desired questions.
2. Press the Import selected button.
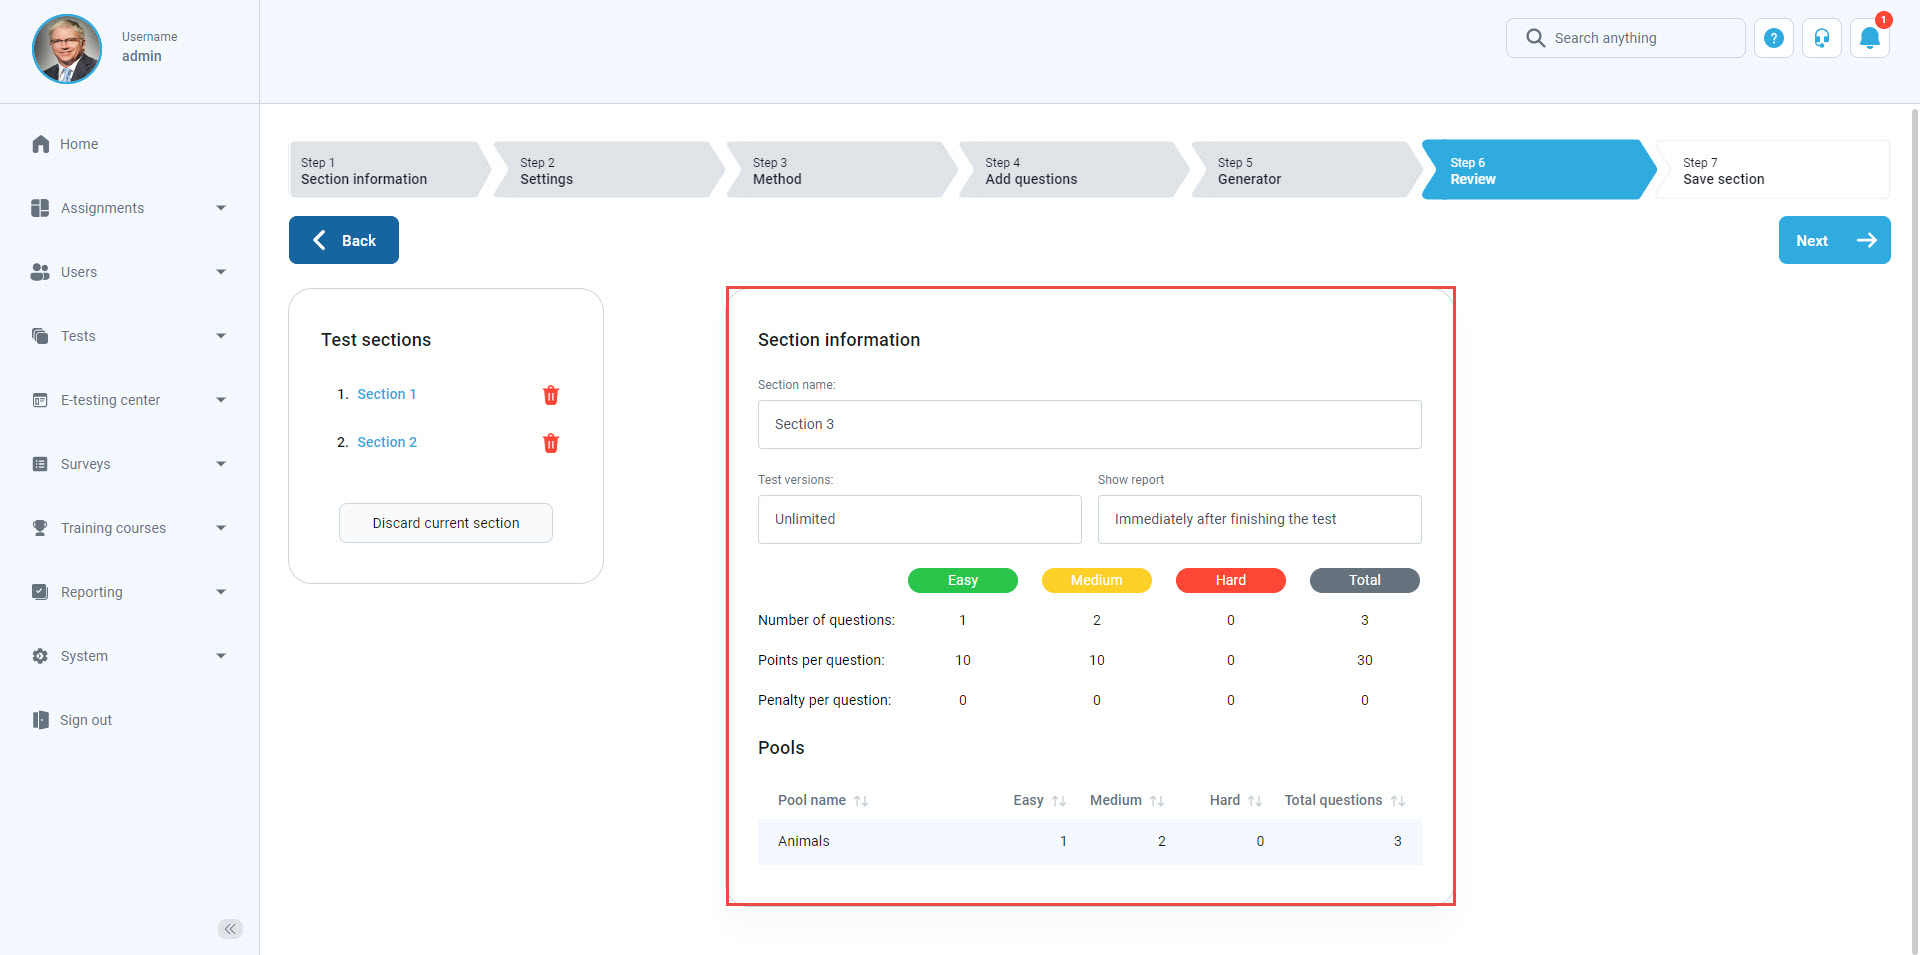
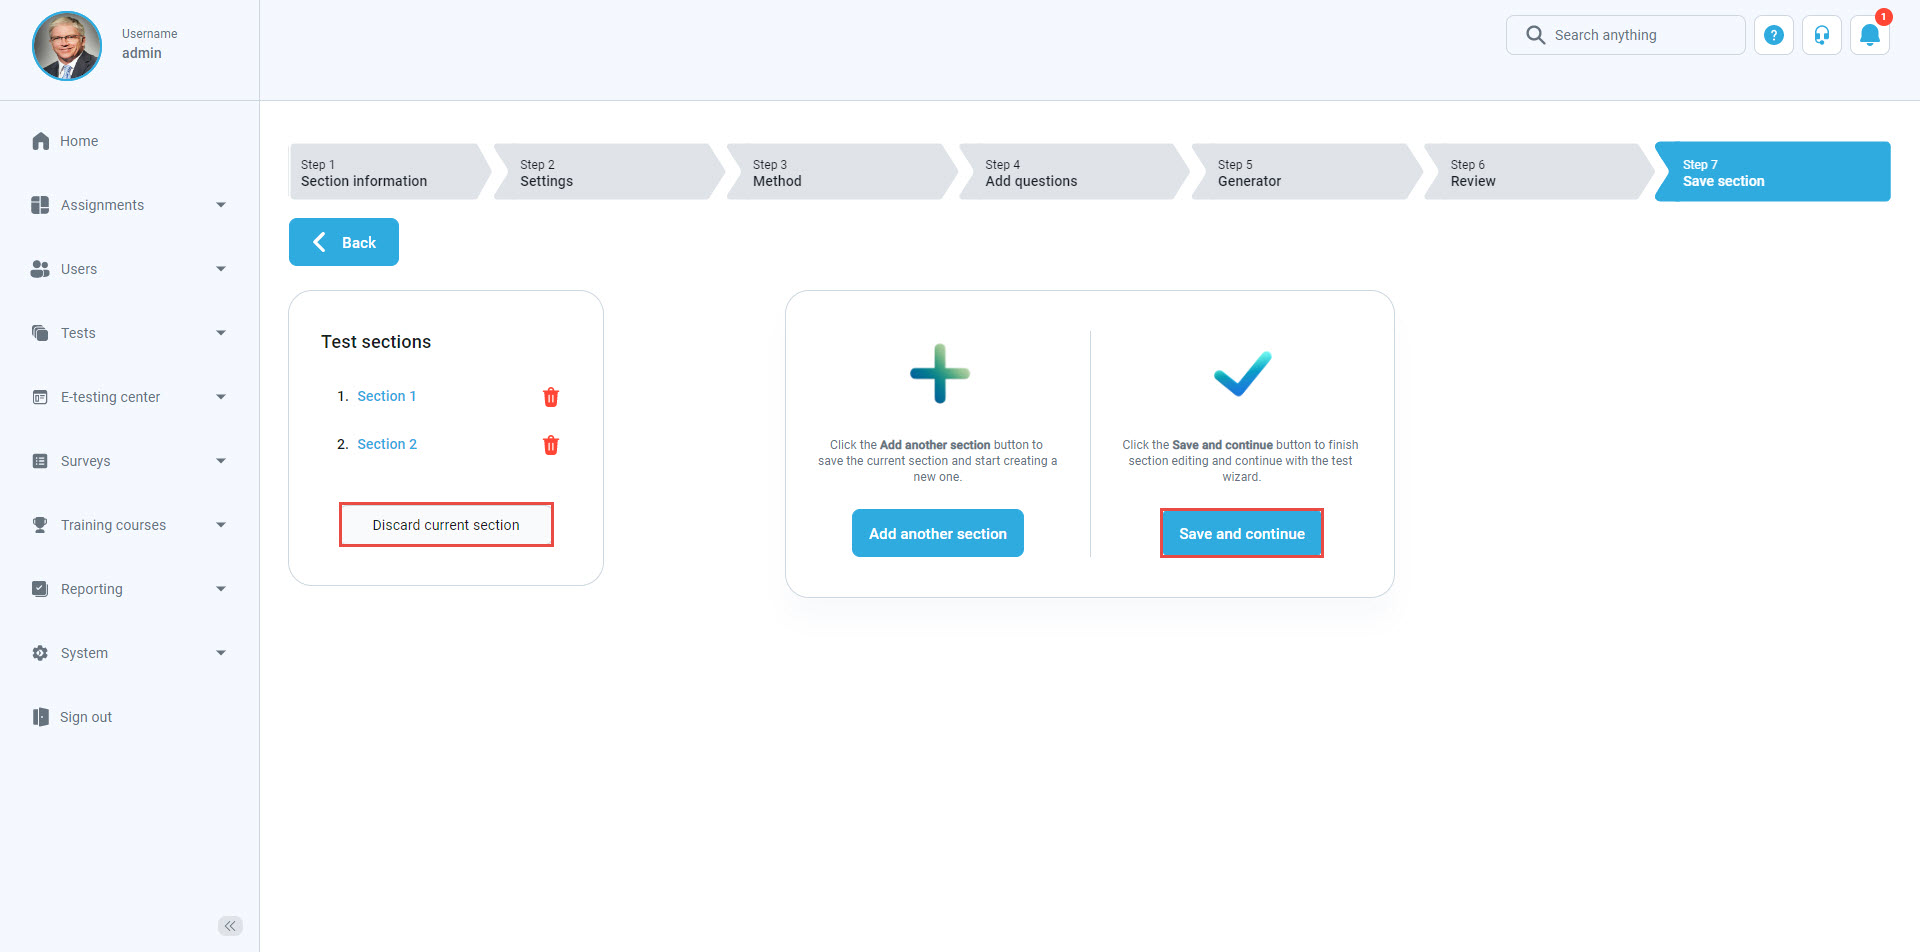
On the next step in the test creation wizard, you can review the information of the current section you have made and the questions that are imported from the desired pool.
You can add as many questions as possible by clicking the Add another question.
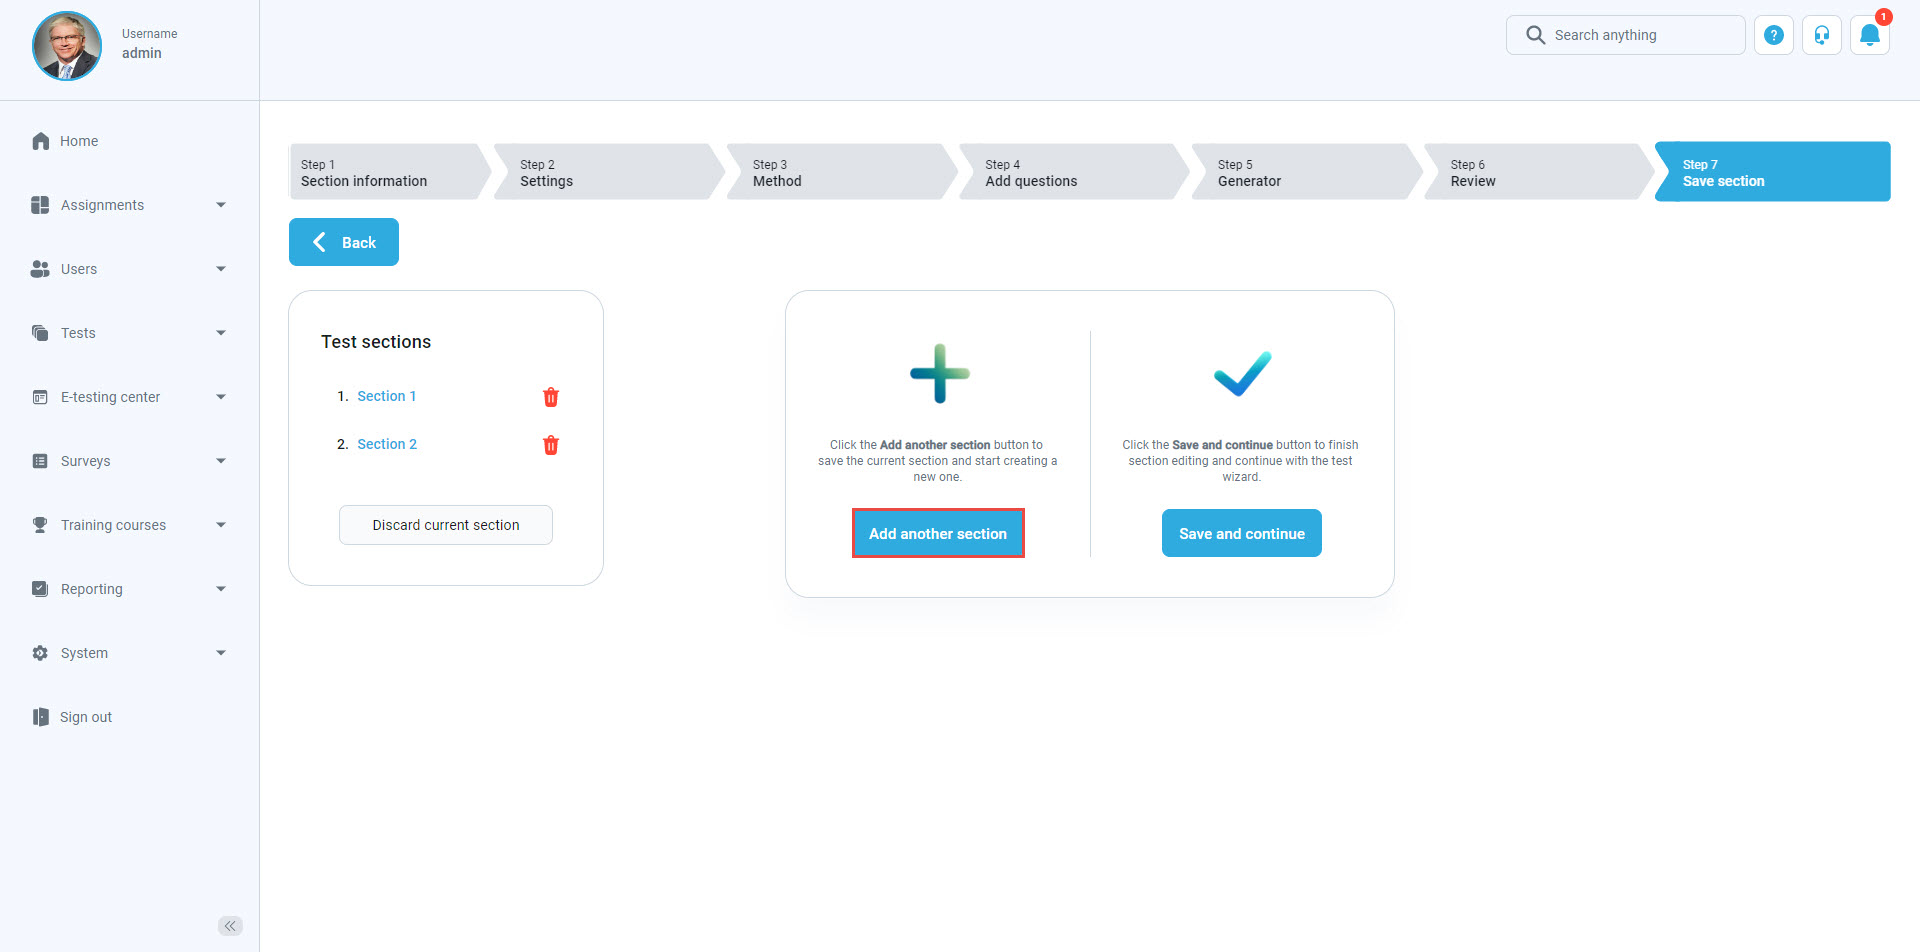
Once finished, click on the Save and continue buttons. If you don’t want to finish editing the question and discard it, select the Discard current section button on the left side of the screen.
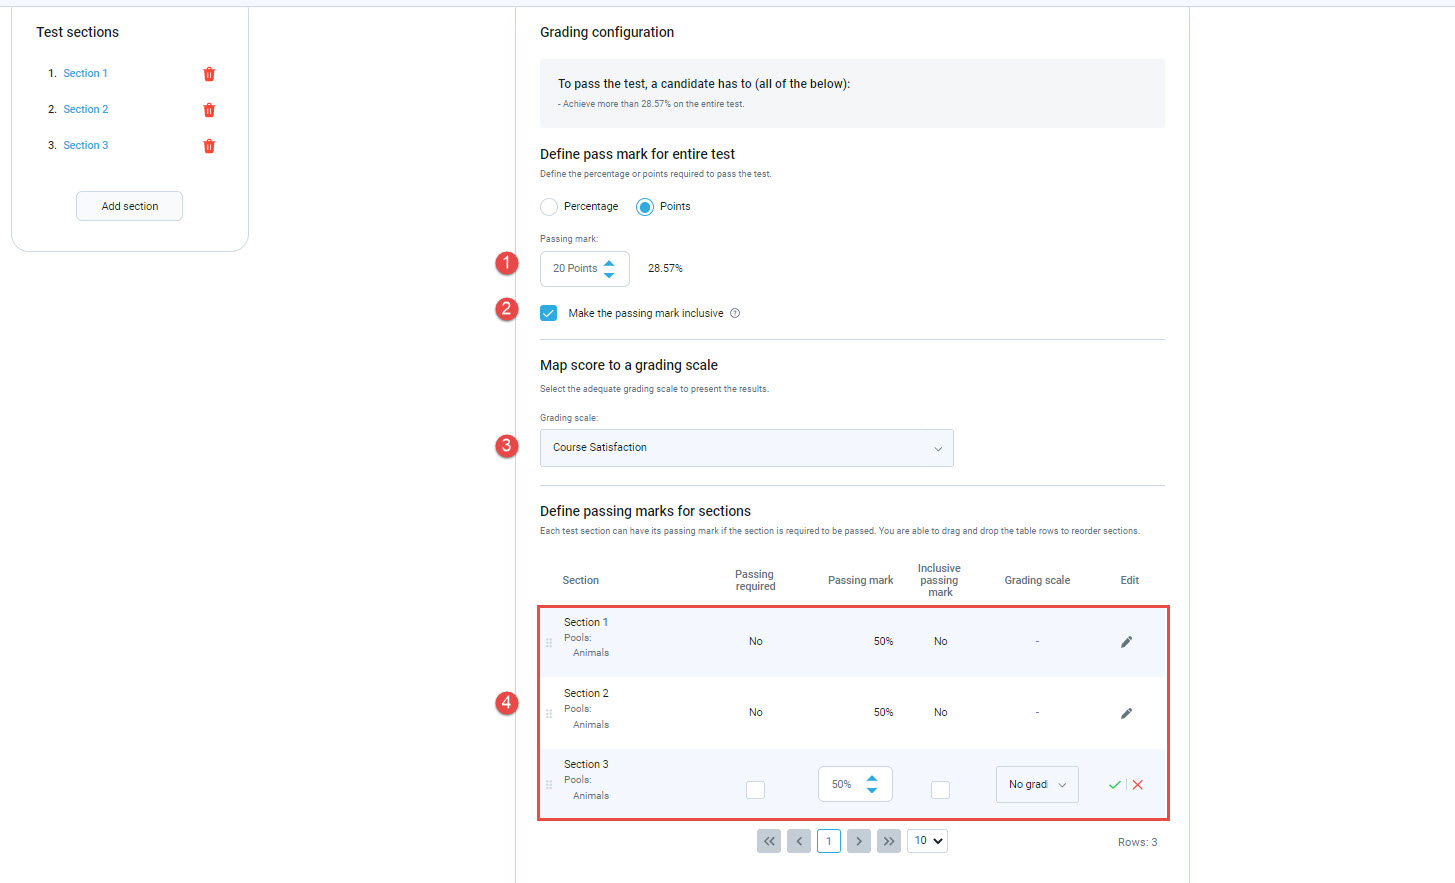
After clicking on the Save and continue button, the test wizard will redirect you to the Grading configuration step:
- Define the grading for the test by setting the passing mark.
- Make the passing mark inclusive.
- Optionally mapping score to the grading scale.
- Setting a passing mark for each section.
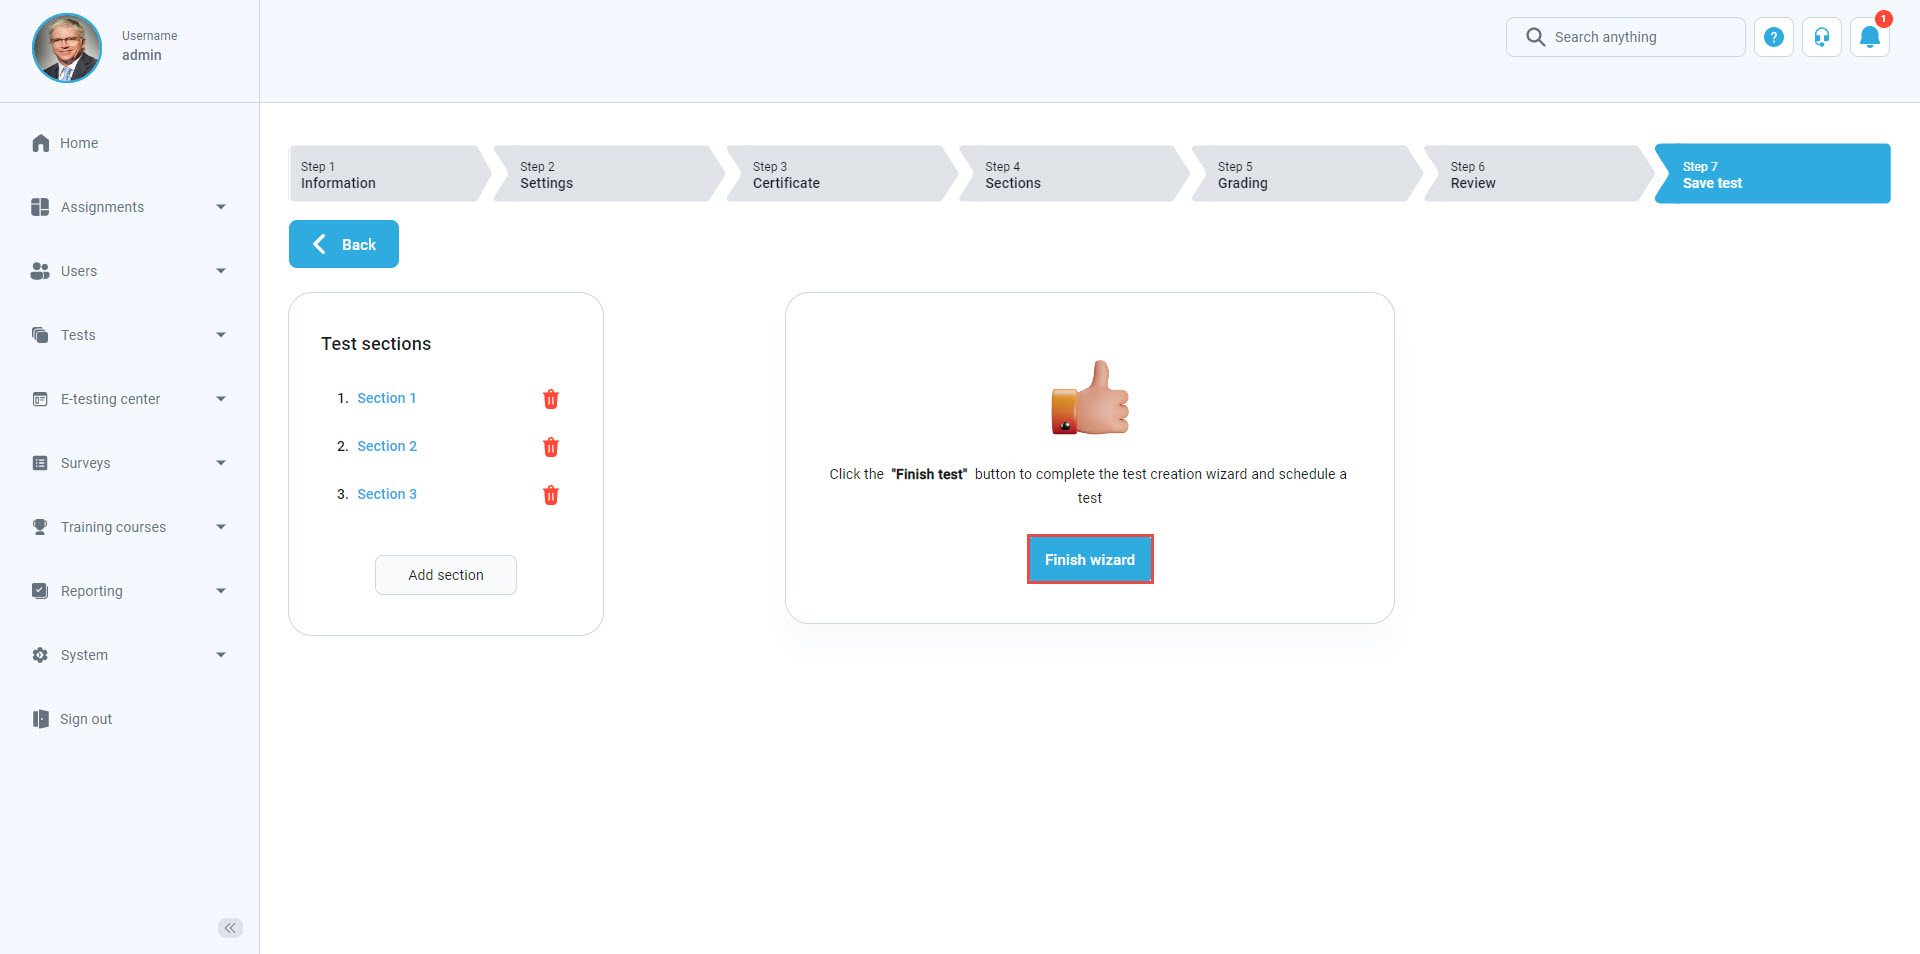
After finishing the test wizard, click the Finish wizard button to organize a testing session.
Creating sessions #
Testing sessions #
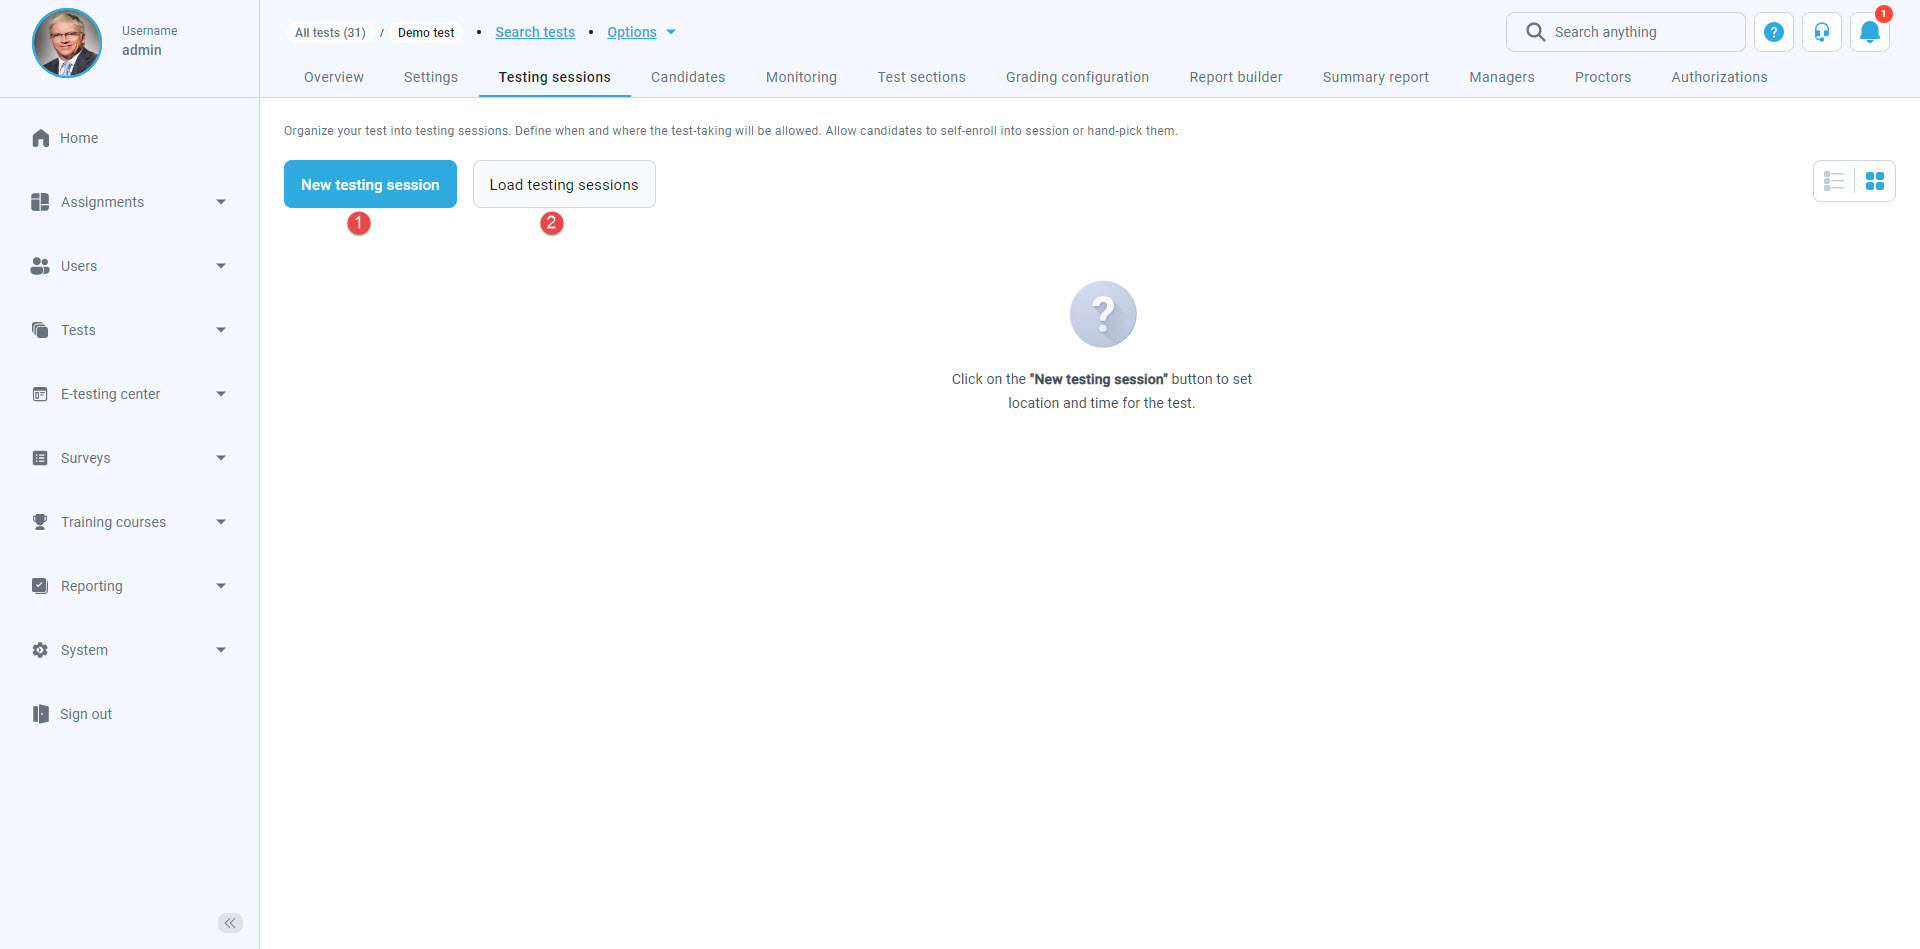
The testing sessions module allows you to organize the test for candidates at different locations (e.g., different time zones, states, continents, etc.).
To create a new testing session:
- Click on the New testing session button or
- Click on the Load testing sessions button to use the predefined Excel template.
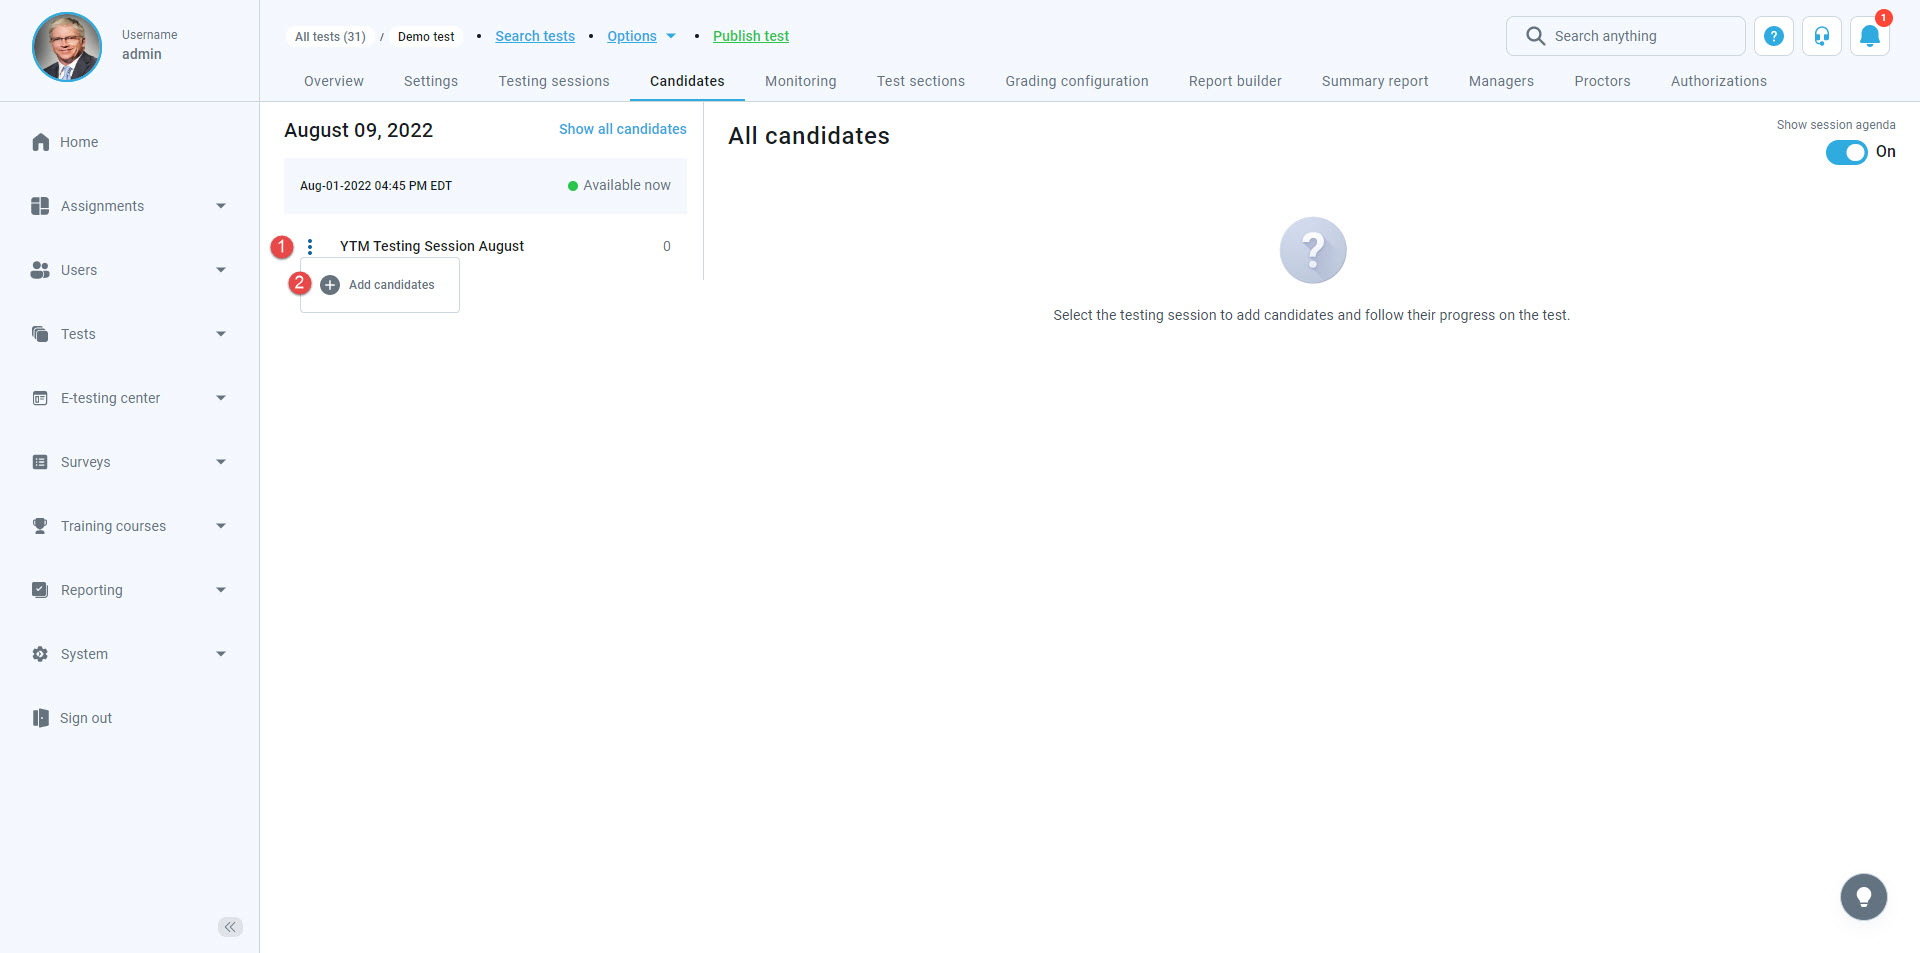
Assigning candidates to a testing session #
- Choose the session you want to assign candidates to
- Click on the Add candidates button from the Actions option.
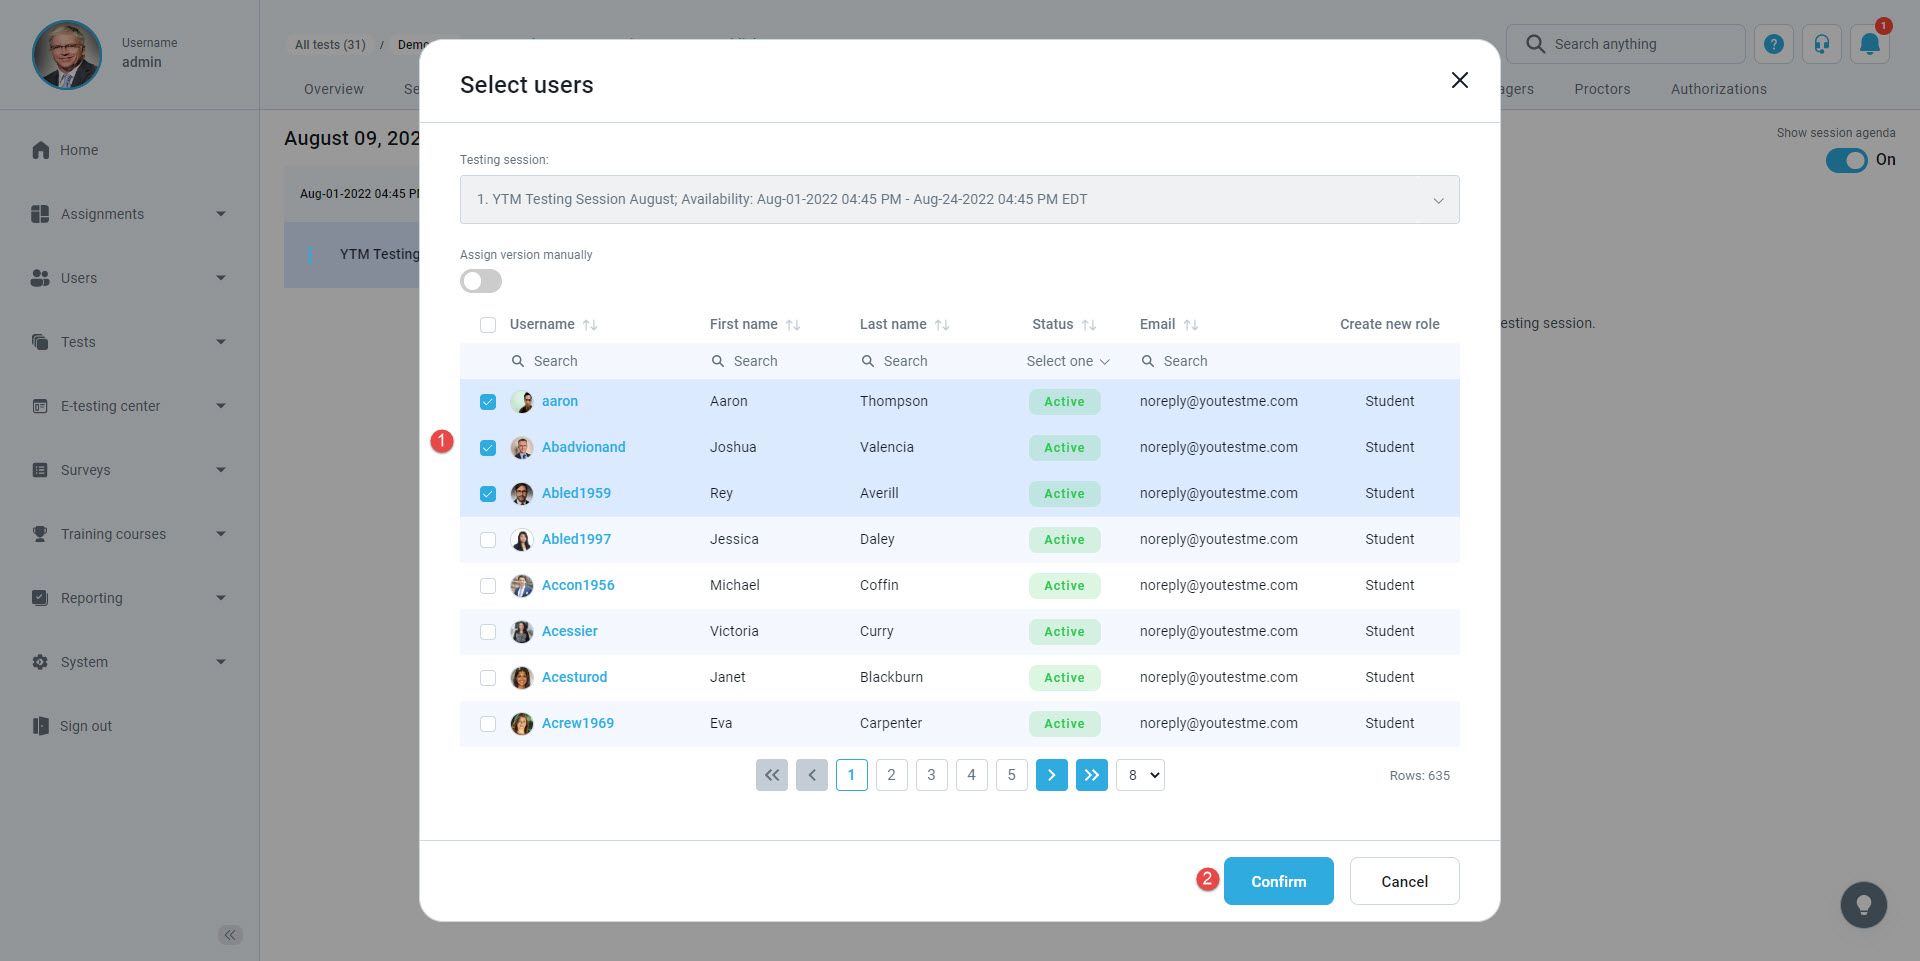
After that, a pop-up window will appear where you should:
- Mark the users you want to add to the session.
- Click on the Confirm button.
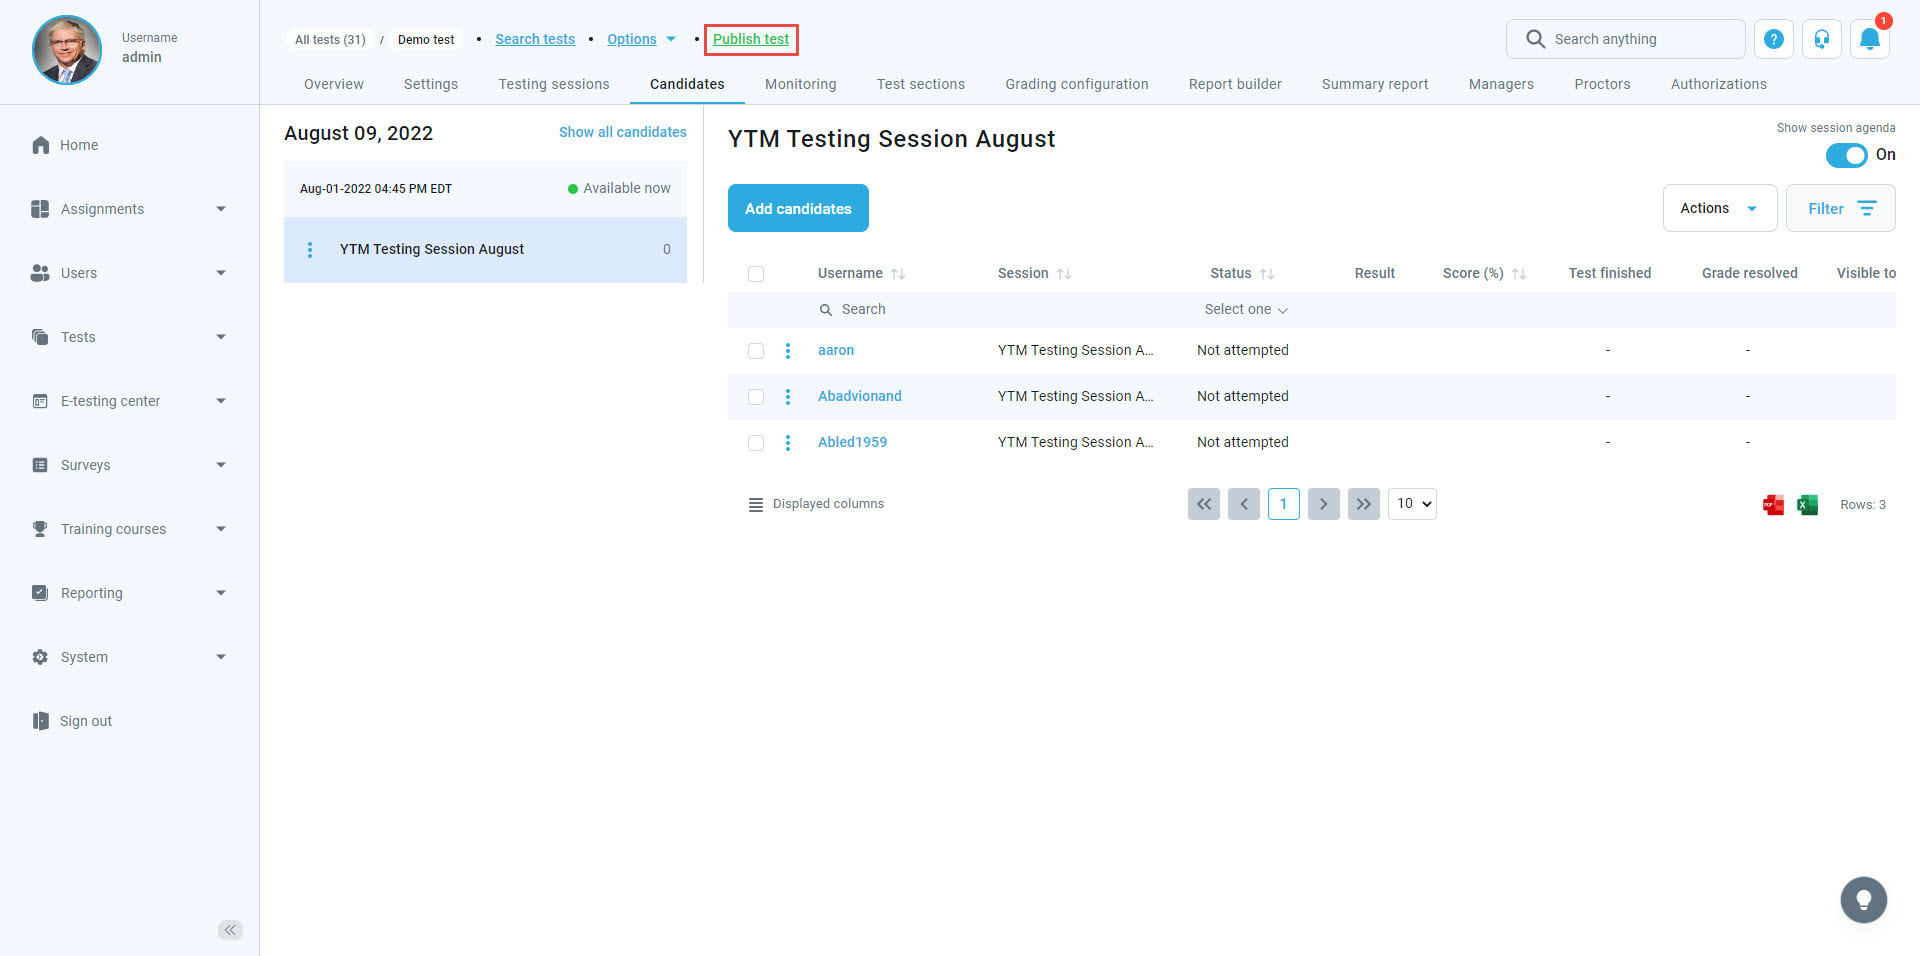
Publish test #
Once you finish the test creation, the test must be published so the candidates can start the test.
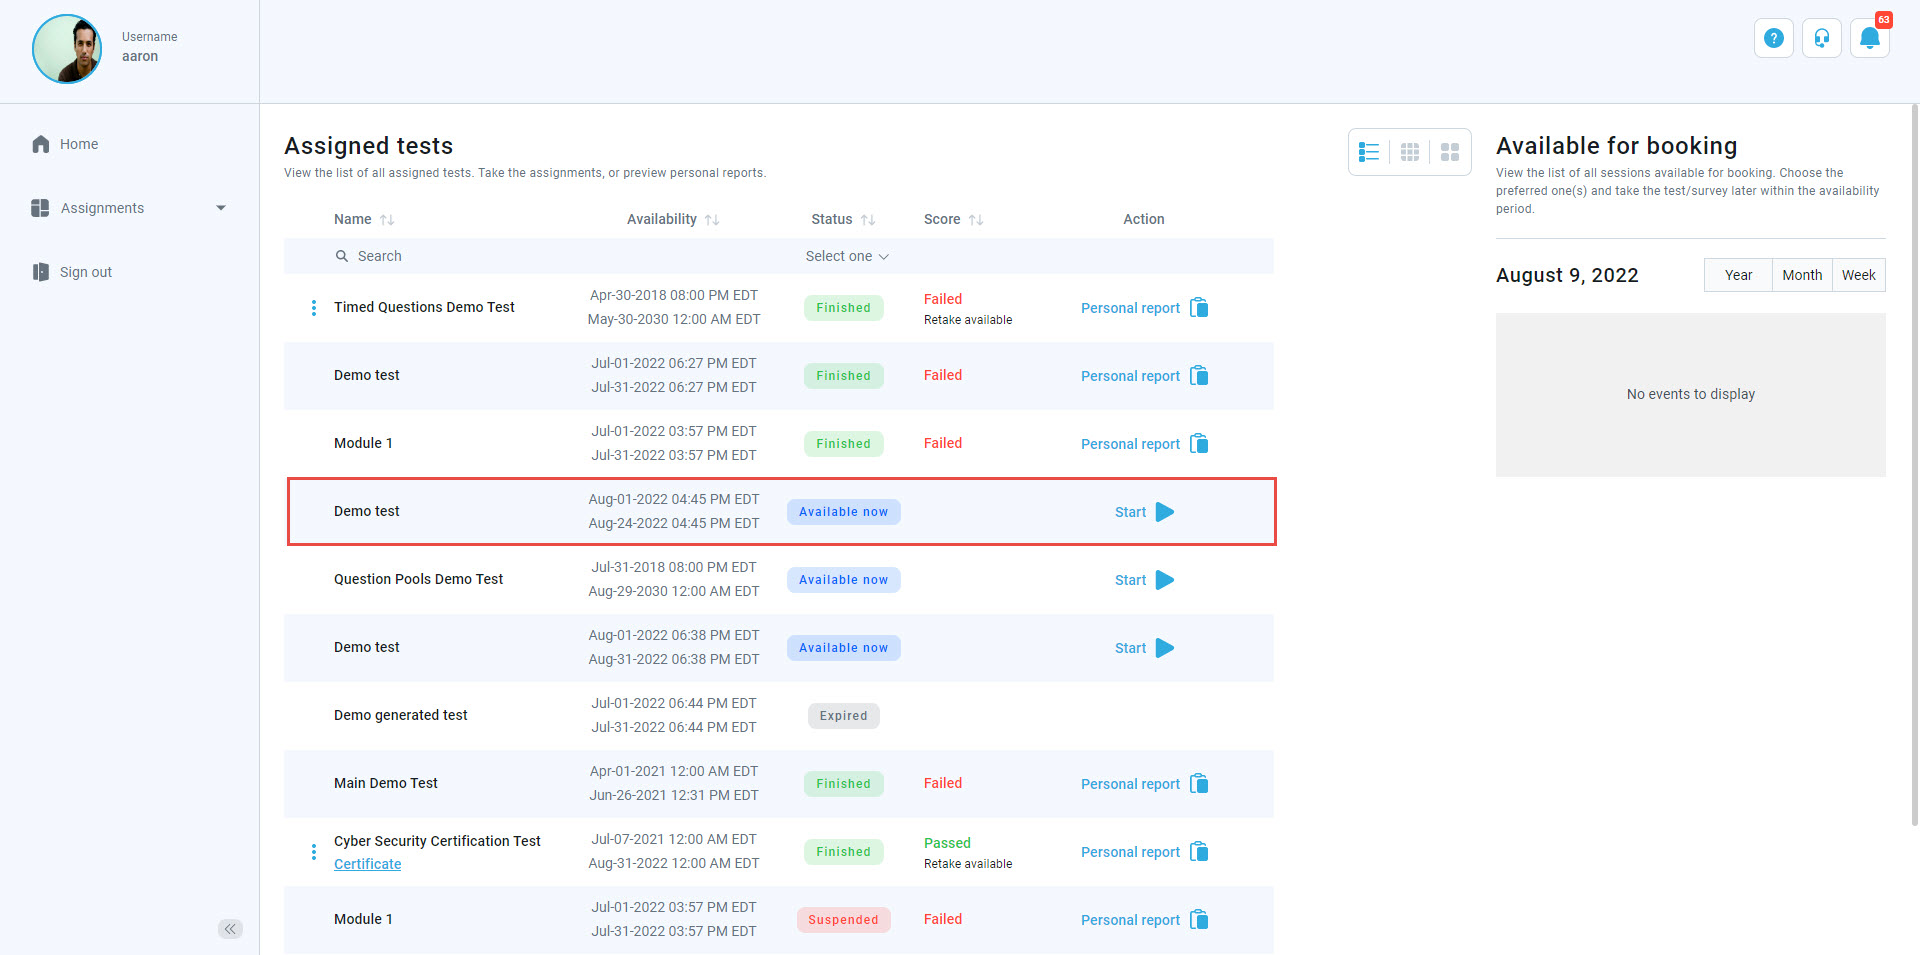
Starting the test as a Student #
To start the test as a student:
- Select the Select button from the quick action panel on the home page.
- Or select the Assignments tab and then the My tests tab in the side menu.

Select the Start option from the list of assignments for the test you want to take.
Enabling section selection #
To enable the section selection option, select the Settings tab and tick the box Enable section selection.

Test managers will be able to assign specific sections to candidates. If sections have conditions set, candidates will get only the section they satisfy when starting or booking the test.
To set section conditions, select the Section auto-assignment in the section settings tab and set the desired conditions.

The defined section won’t be available if the user doesn’t satisfy the conditions. For example, the conditions for one section are set to require a specific user group. This user does not satisfy that condition. Thus, the user is presented only with one section.


